A new account starts empty — you create your first organization explicitly, through an 8-step wizard. Each step is one quick decision, most have sensible defaults, and the wizard tells you when something can be changed later. The whole thing takes a few minutes.
Note — "Organization"? LineLedger says organization for what accountants might call the company, entity, or society. They're the same thing — a business, a non-profit, a club — and one account can hold several.
Step 1 — Organization info
Enter the organization's name, country, and region, then confirm the base currency, timezone, and fiscal-year start month. The fiscal-year start controls how reports group your years — most small organizations run on the calendar year, so January is the common pick.
Heads up — The country is permanent. Choosing Canada or the United States seeds your chart of accounts, tax codes and agency, payment methods, currency, and even the app's wording (Cheque vs. Check, GST/HST vs. Sales Tax). It can't be changed once the organization exists, so pick carefully.
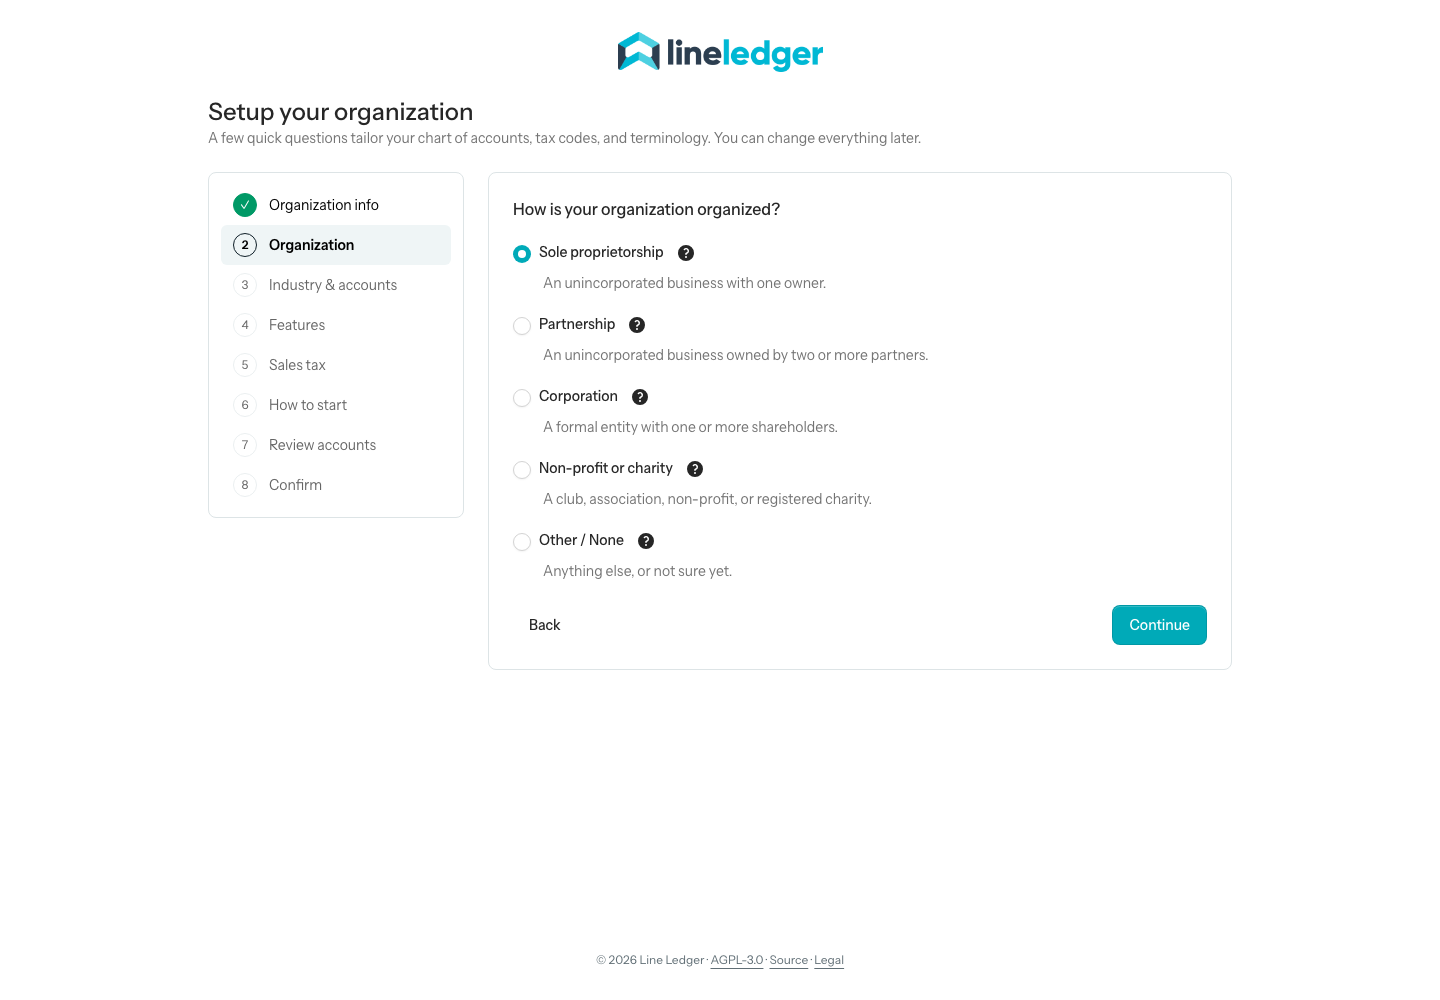
Step 2 — How your organization is organized
Sole proprietorship, partnership, corporation, or non-profit — and for non-profits, the legal structure underneath (incorporated, registered charity, or unincorporated association). This tunes the vocabulary of your books: a corporation gets share capital and retained earnings, a sole proprietor gets owner's draws, and a non-profit's equity section becomes net assets.
Step 3 — Industry & accounts
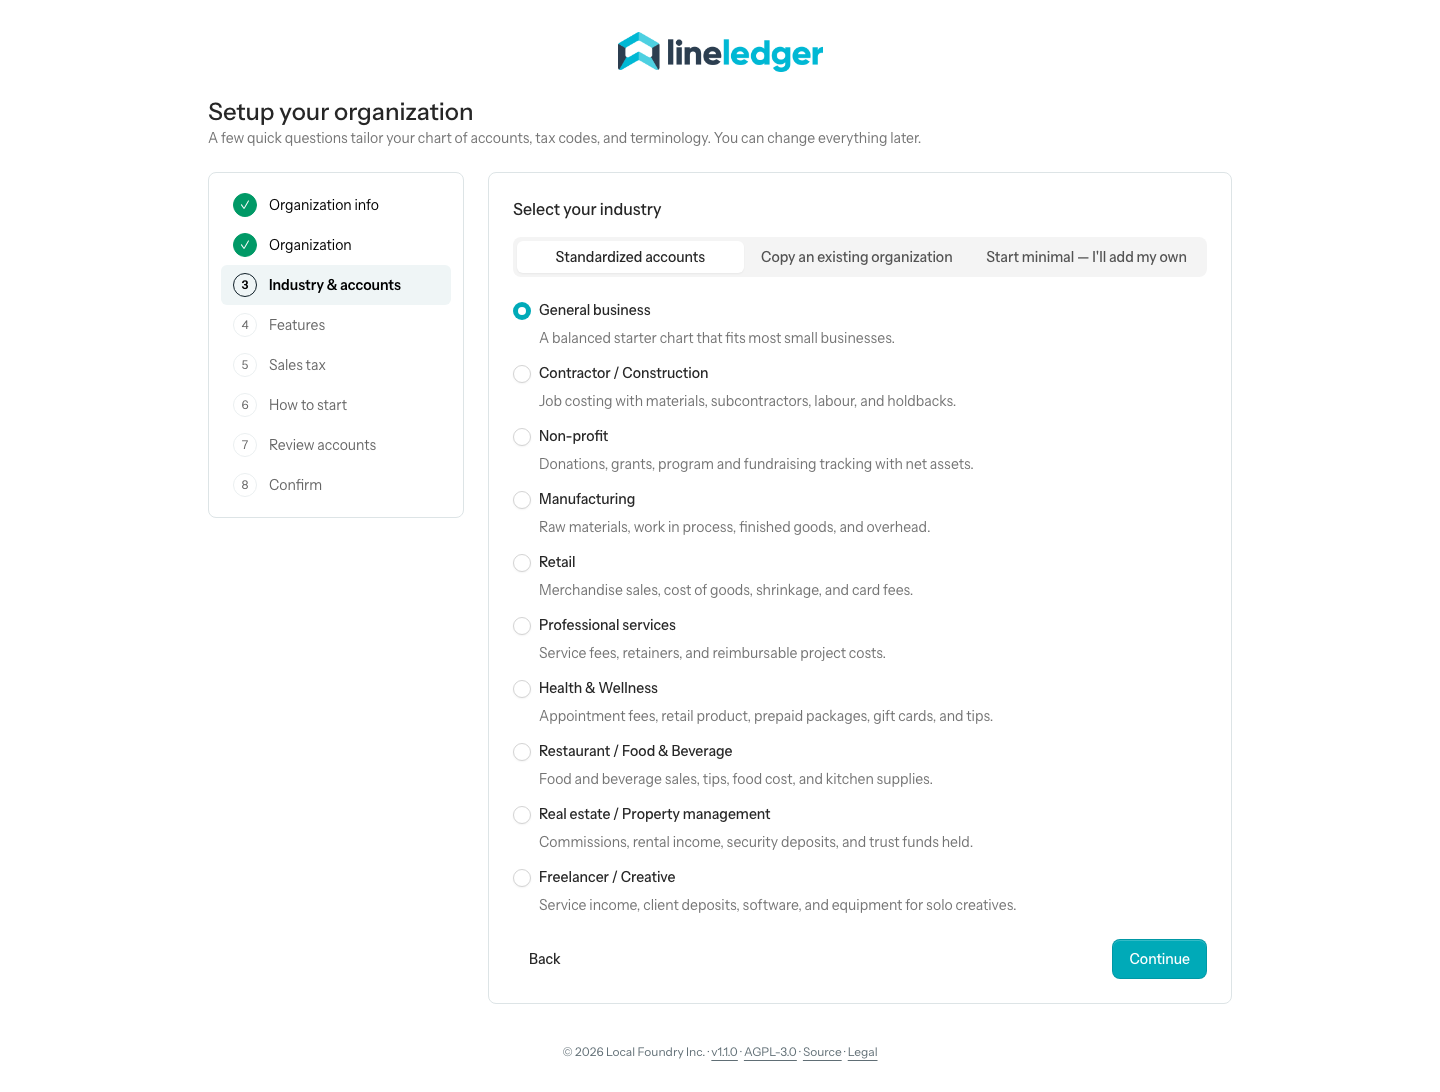
Keep Standardized accounts selected and pick the industry closest to yours. This is what builds your starting chart of accounts — a services business gets a lean chart, a non-profit gets accounts like Membership Dues and Donations that a generic chart wouldn't have.
Step 4 — What do you want to track
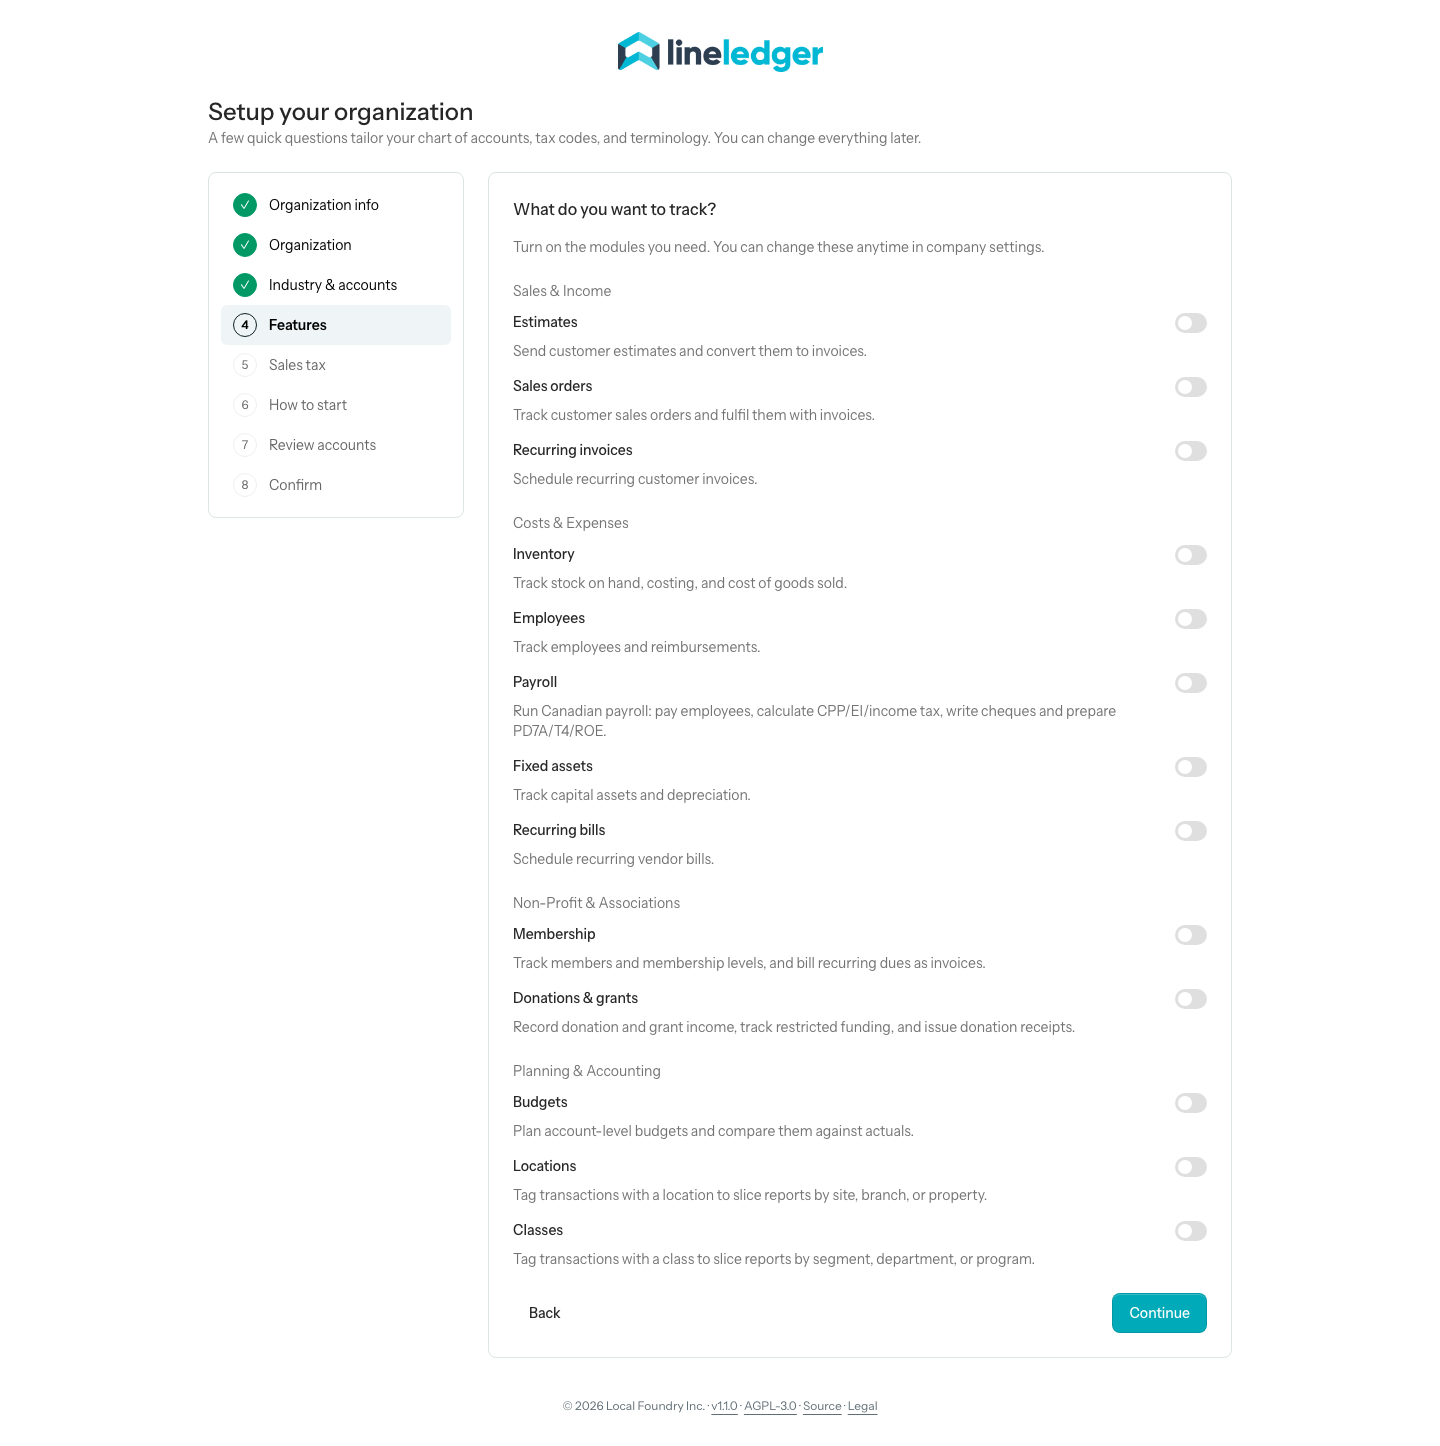
Feature toggles: inventory, fixed assets, employees, payroll, membership, fundraising, and more. The wizard pre-selects a sensible set for your organization type. Only turn on what you need today — every feature can be switched on later under Settings, and features you skip simply don't appear in the sidebar.
Step 5 — Sales tax
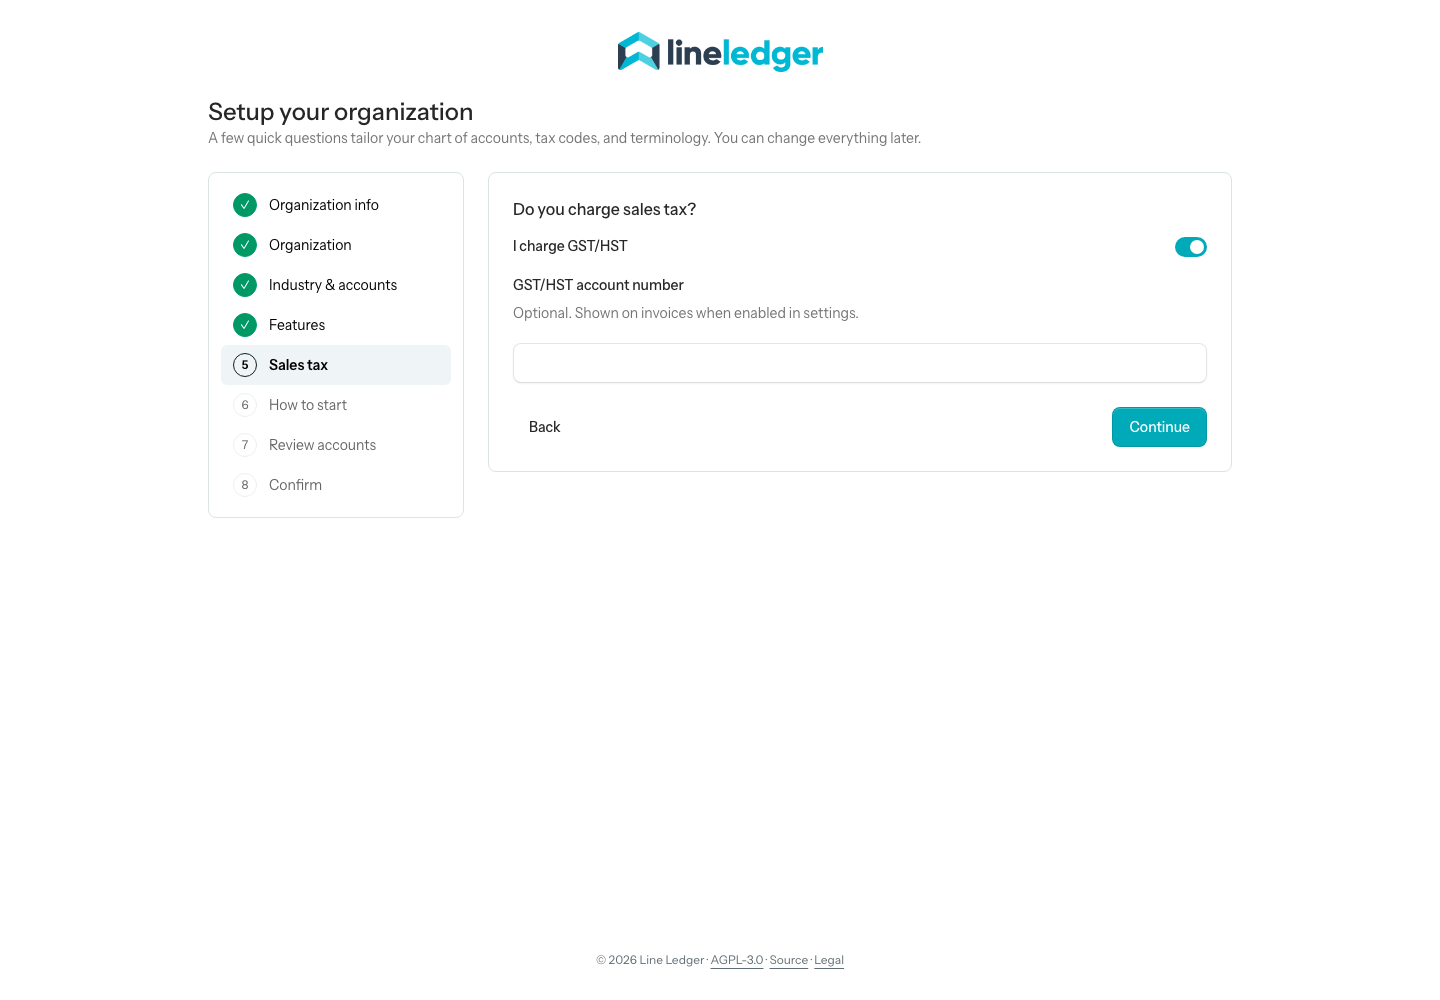
If you charge GST/HST (Canada) or sales tax (US), switch it on and enter your registration details; LineLedger creates the tax codes and agency for you. Not registered — like many small businesses under the registration threshold? Leave it off: invoices simply have no tax column, and you can enable tax collection later at any time.
Step 6 — How do you want to start
Start fresh begins your books from a date you choose — usually the first day of your fiscal year, even if you're setting up partway through it. If you're coming from QuickBooks, this is also where you can choose to import your existing company instead.
Step 7 — Review your chart of accounts
The wizard shows every account it's about to create. Required system accounts are locked on; optional ones can be unticked. The defaults are good — you can add, rename, or deactivate accounts later from Accounting → Chart of Accounts.
Step 8 — Confirm
A summary of every choice. Check it over and click Create organization. A few seconds later you land on your new dashboard — cash, receivables, payables, and a cash-flow chart, all zeros, which is exactly right for a brand-new set of books.
Want the full walkthrough with worked examples for a sole proprietorship, a corporation, and a non-profit? See Create an organization in the documentation.