Your organization exists — time to make the books say something. In this tutorial you'll add your first customer, invoice them, record their payment, and deposit the money to the bank. That one loop — bill, collect, deposit — is most of day-to-day bookkeeping.
Note — Double-entry, handled for you. Under the hood every step below writes balanced debits and credits to your chart of accounts. You never enter those yourself — post an invoice and LineLedger books the revenue and the receivable; record the payment and it moves the money. Reports read straight from those entries.
1. Add a customer
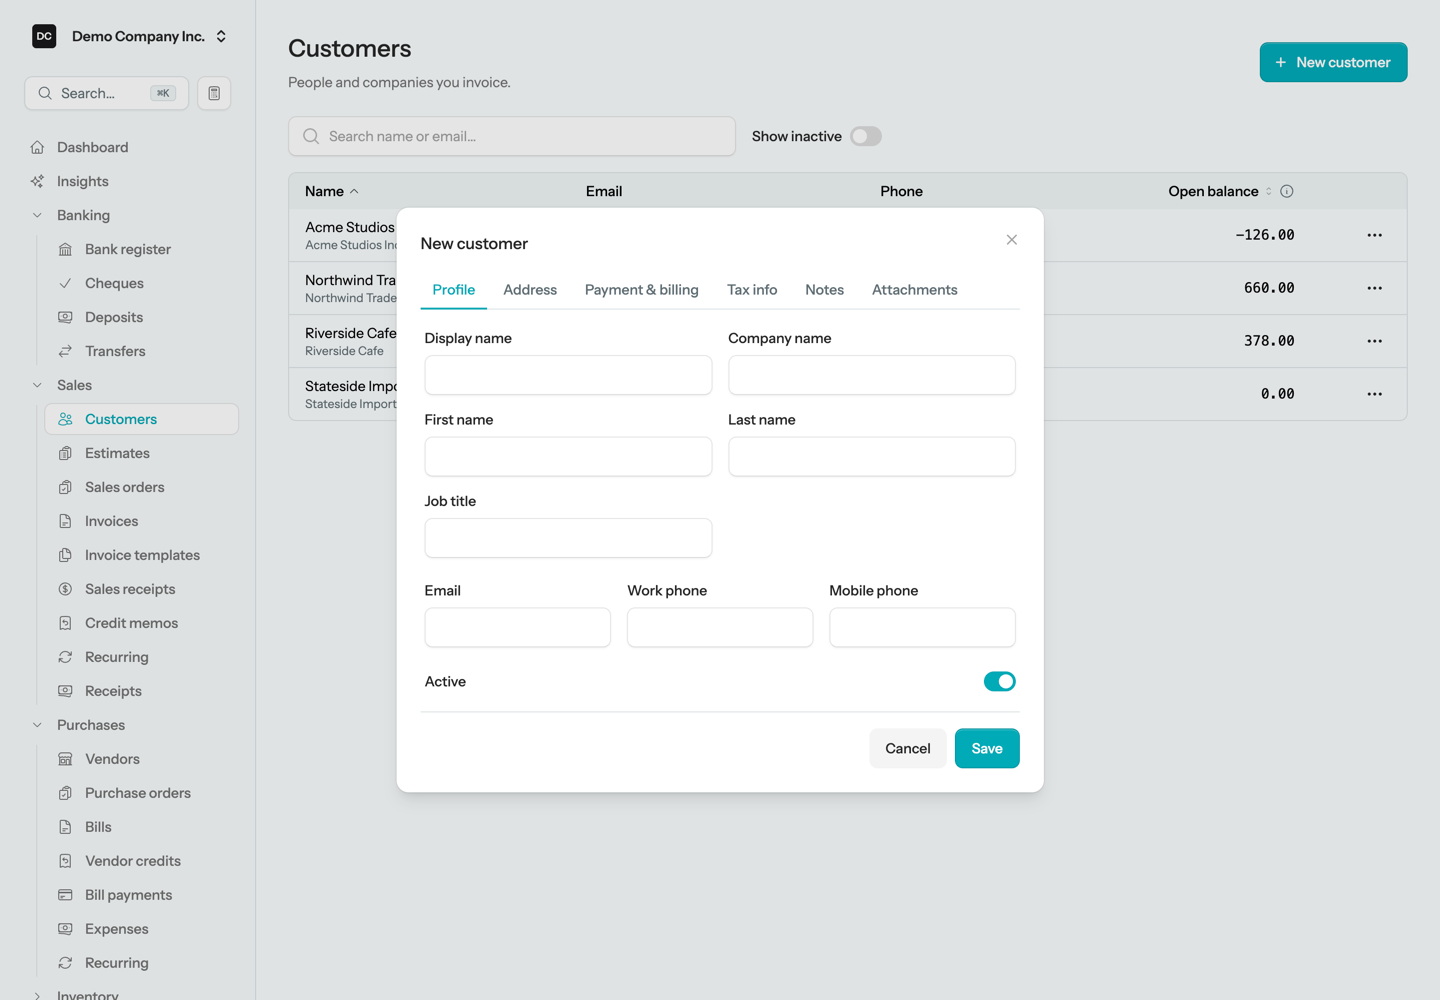
Open Sales → Customers and click New customer. A name is enough to start; the email address is worth adding right away so you can send invoices without leaving the app. Payment terms, tax settings, and addresses all have workable defaults.
2. Create your first invoice
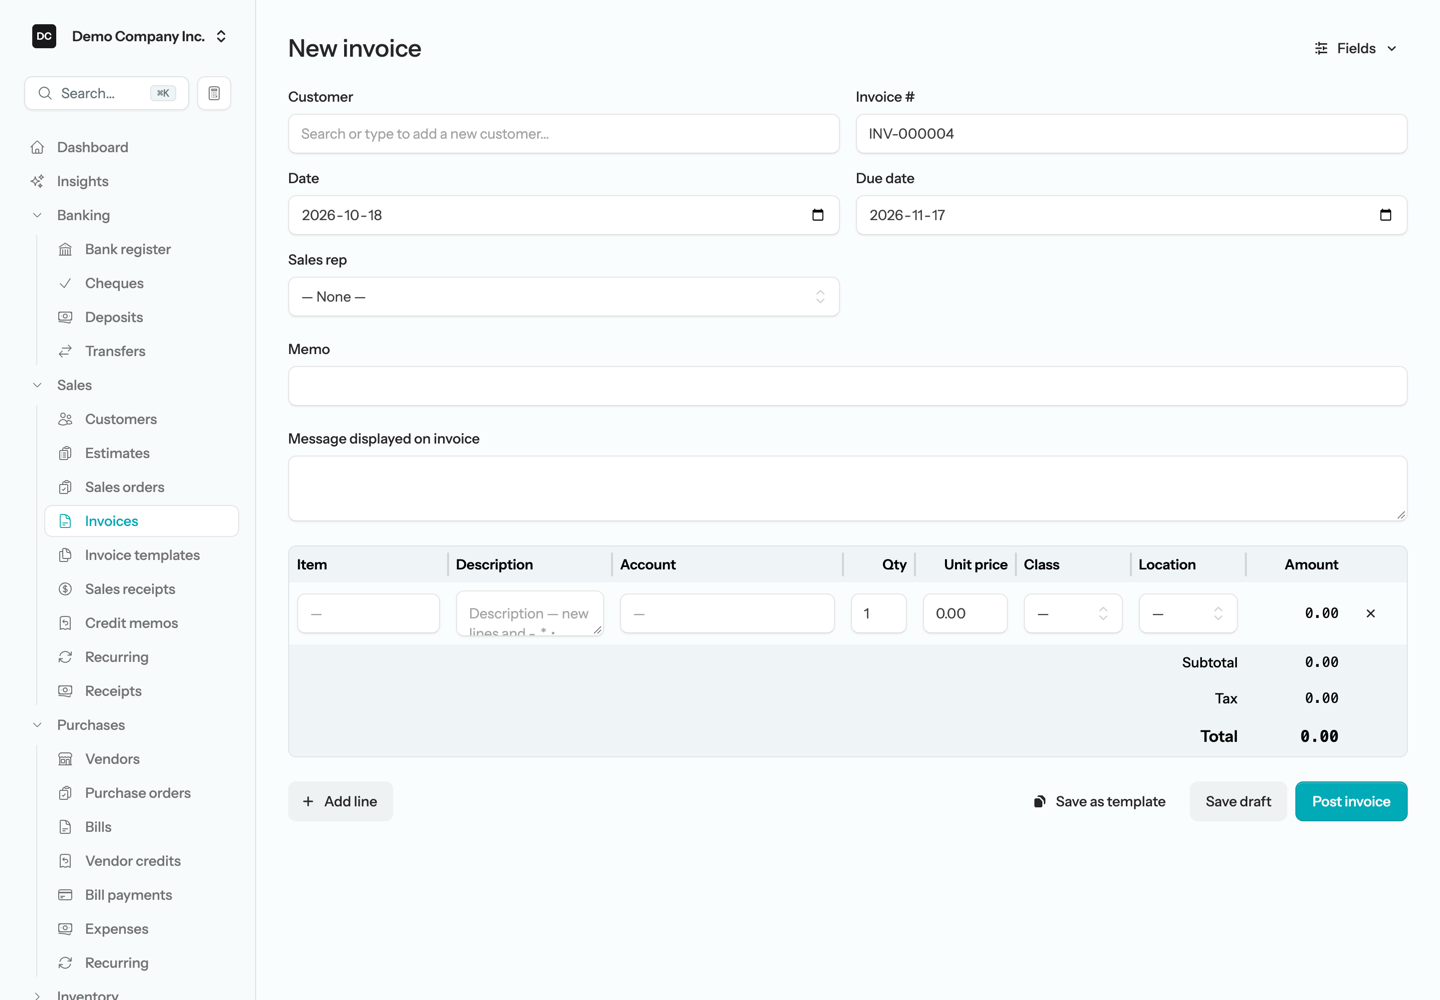
From Sales → Invoices, click New invoice. Pick your customer, add a line for what you sold — a description, a quantity, and a price — and post it. Posting is the moment the books change: revenue is recorded and the customer now owes you the balance.
3. Send it
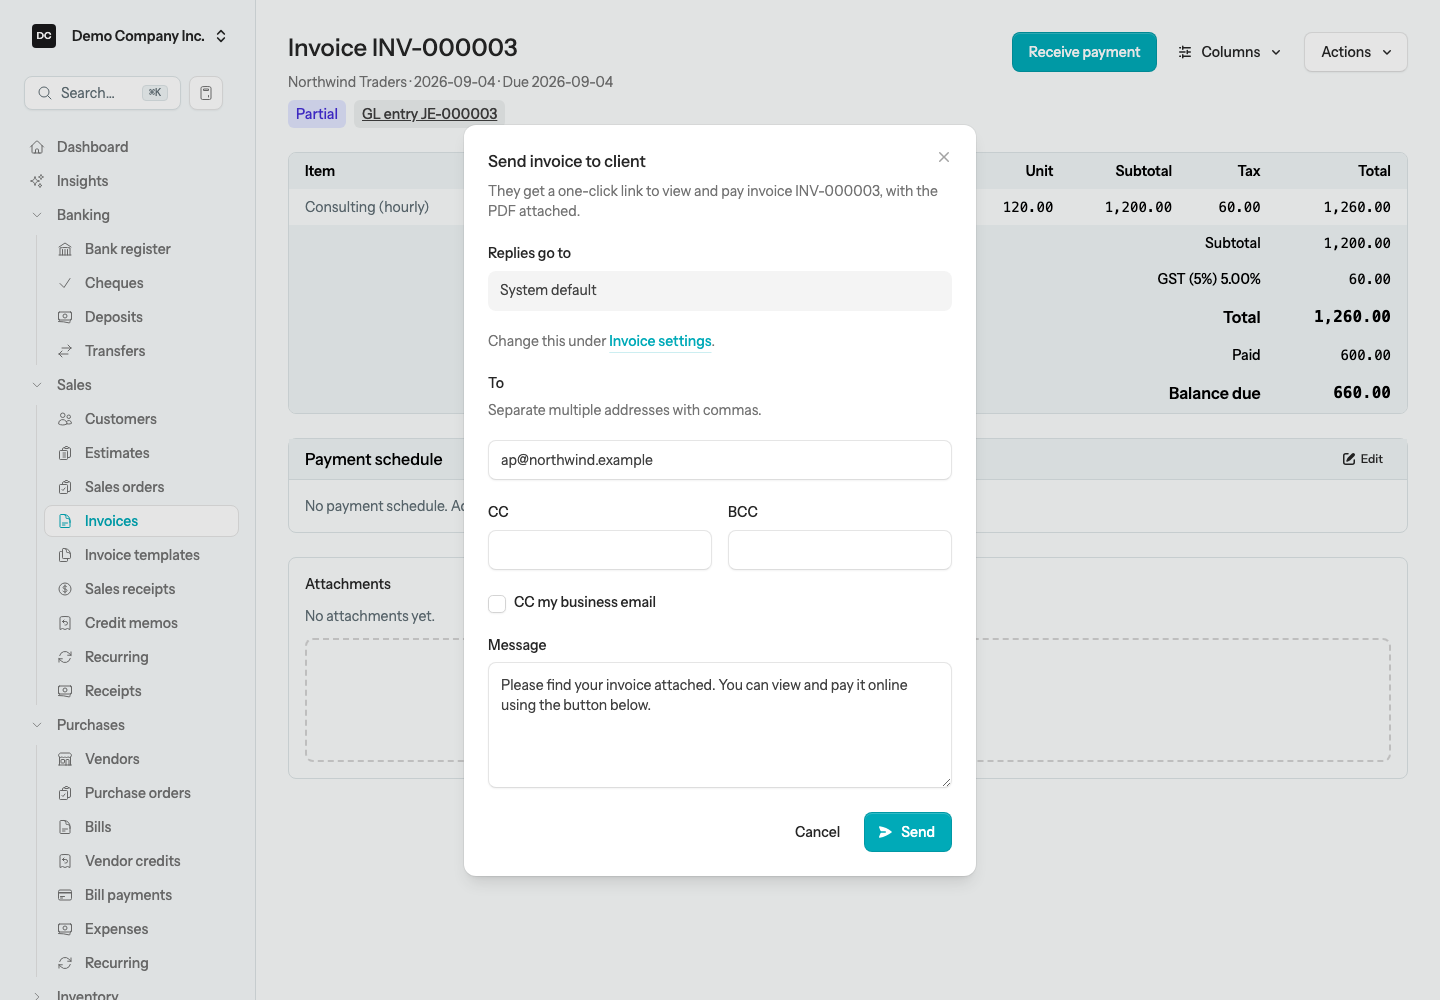
On the posted invoice, click Send to email a PDF copy to your customer — or print it if paper is more their speed. If you turned on the customer portal, the email includes a link where they can view their statement and pay you online.
4. Record the payment
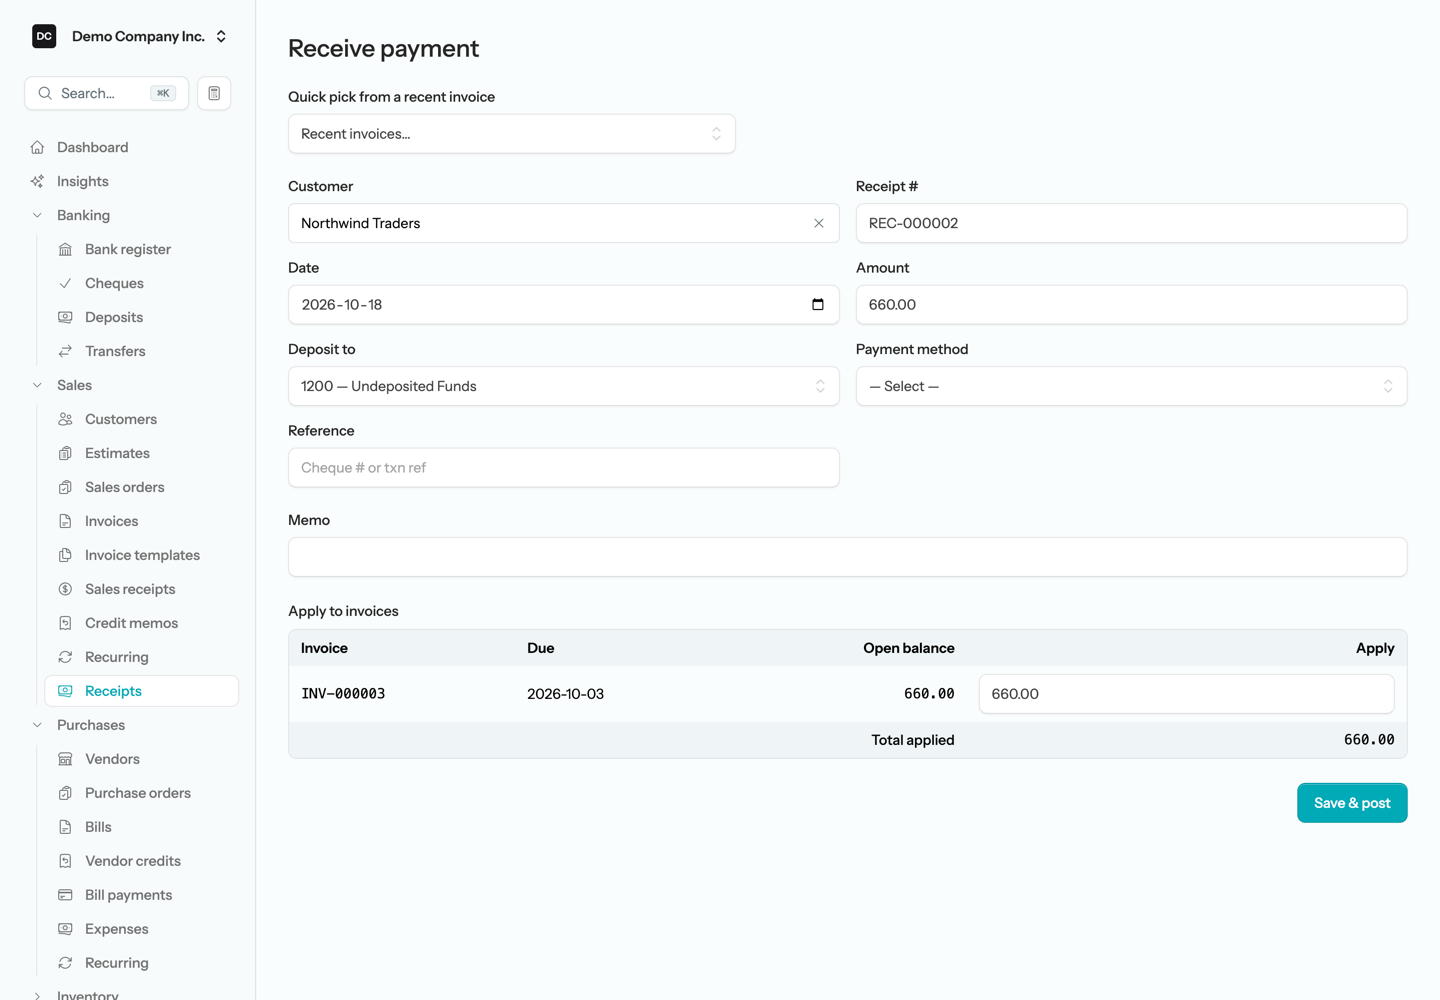
When the money arrives, open the invoice (or Sales → Customer Receipts) and record a receipt: the date, the amount, and the payment method. Cash and cheques land in Undeposited Funds — a holding account for money you've collected but haven't taken to the bank yet. Payments straight into your bank account can be deposited directly to it.
5. Deposit it to the bank
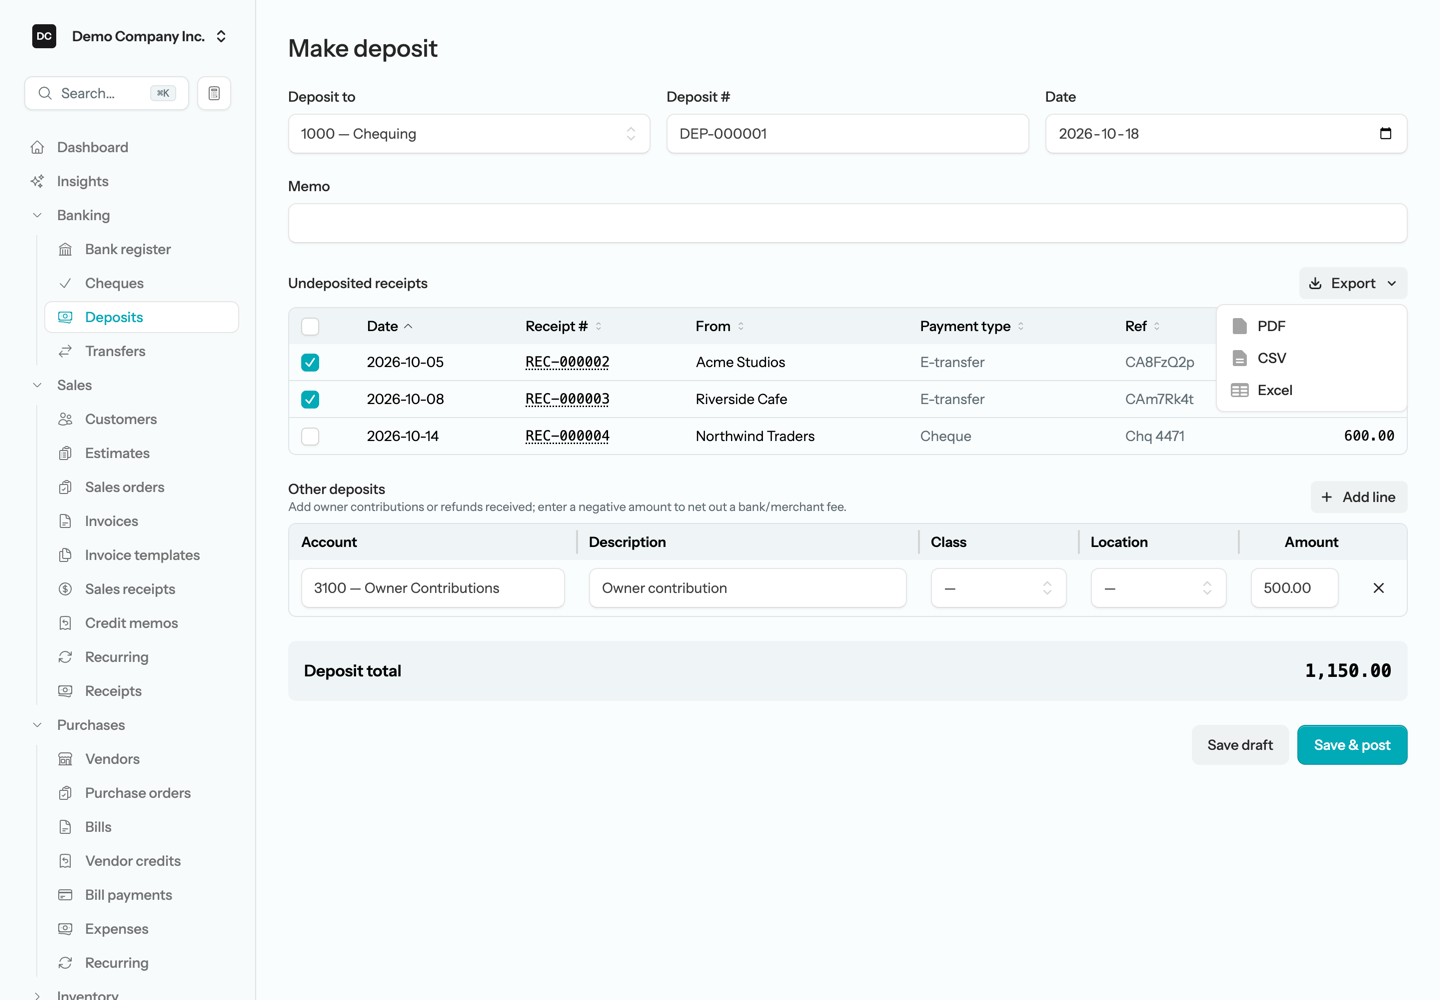
Open Banking → Deposits and create a deposit: pick the bank account, tick the undeposited payments you're taking in, and post. The money moves from Undeposited Funds into your bank account — and when the bank statement arrives, the deposit total matches it line for line, which is what makes month-end reconciliation painless.
6. See what the books say
Open Reports and run the income statement: there's your revenue. The balance sheet shows the cash in the bank. Every number drills through to the transactions behind it — click any figure to see exactly which postings produced it.
Where to go from here
- Vendors — the same loop for money going out: bills and payments.
- Banking — import your bank statement and reconcile your first month.
- Recurring — put repeating invoices and bills on a schedule.
- Import from QuickBooks — bringing over an existing company's history.