Lists hold the reusable pieces that fill in the rest of your bookkeeping: the products you sell, the taxes you charge, when invoices come due, and how money moves. Setting them up well early means cleaner invoices, accurate tax filing, and consistent reports later. Every list lives under Settings → Lists — open Settings from the sidebar, then choose the list you want from the Lists group. Some lists only appear once their feature is switched on for the organization (see Feature toggles under Settings). The examples below use our sample business, Demo Company Inc.; the funds and membership examples come from Demo Community Society.
All lists
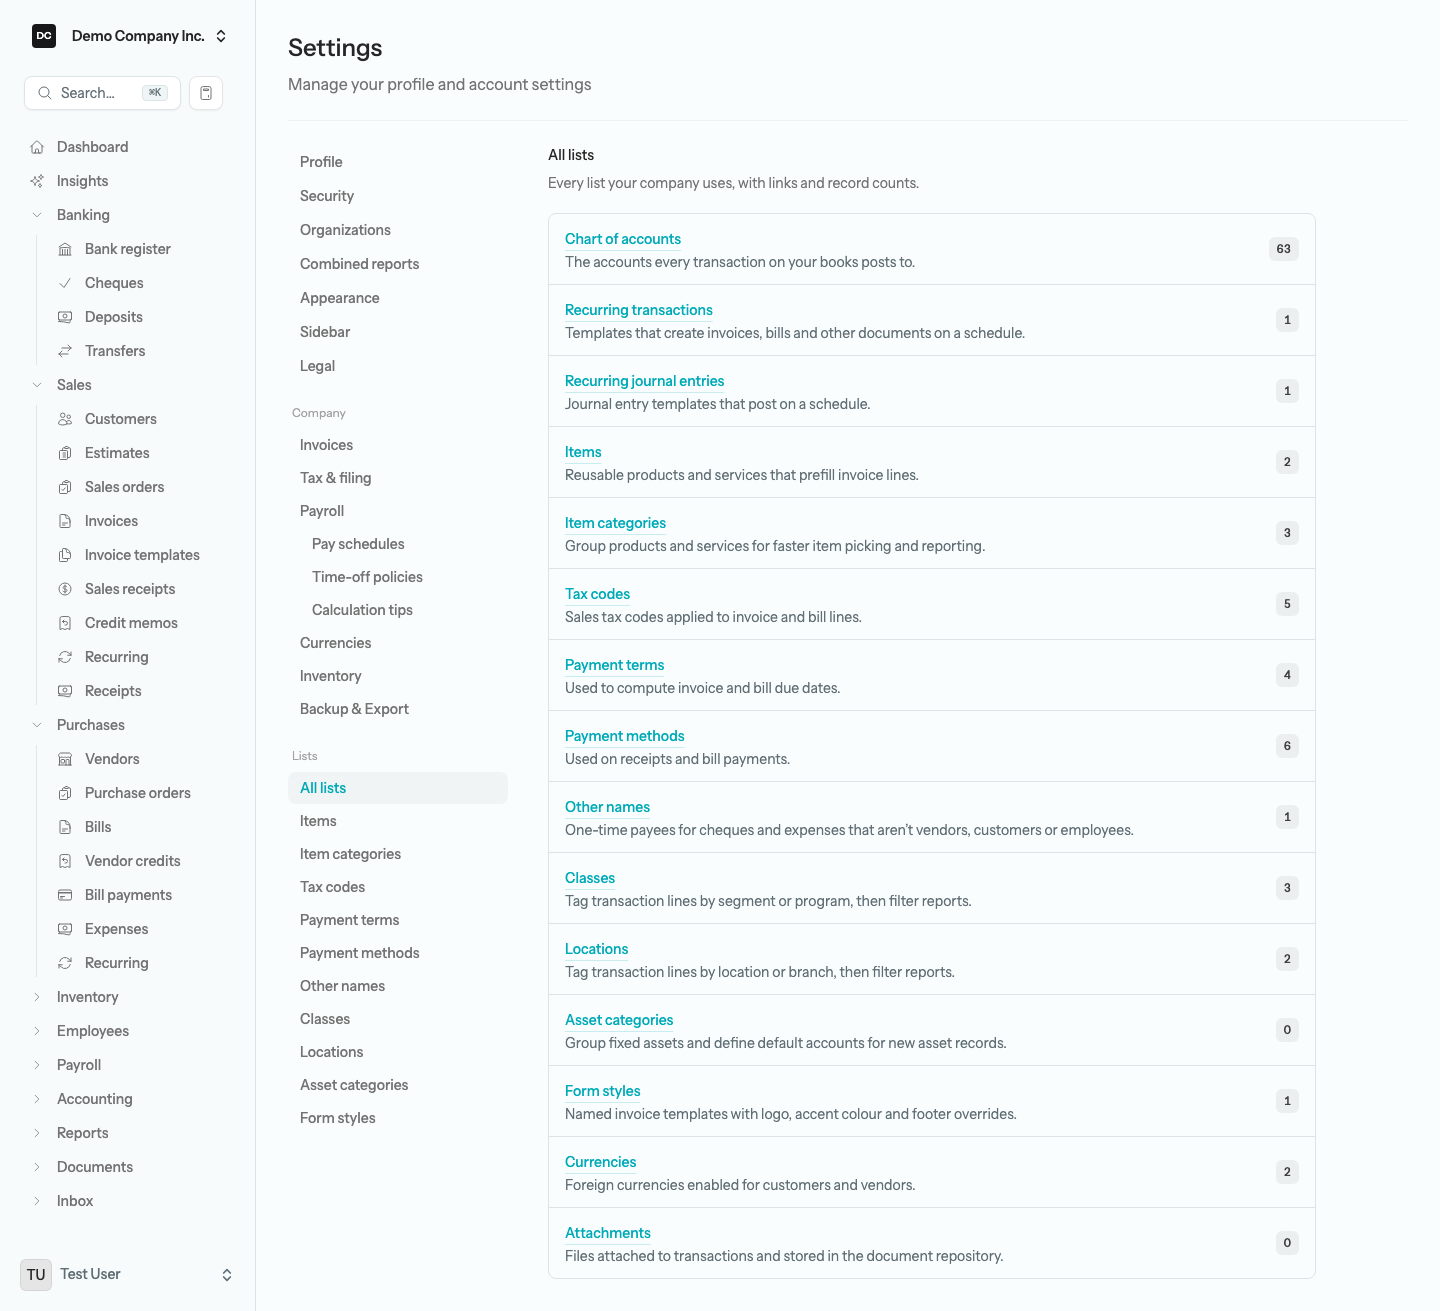
Settings → Lists → All lists is a one-stop hub. Each row links to a list and shows a live count of its records. It starts with three things kept elsewhere in the app — Chart of accounts, Recurring transactions, and Recurring journal entries — then covers the lists on this page (Items, Item categories, Tax codes, Payment terms, Payment methods, Other names, Classes, Locations, Asset categories, Membership levels, Form styles) and finishes with Currencies and Attachments. Funds is the one list the hub does not link to; see Funds below for how to reach it.
Note — One person edits a record at a time. Every list on this page opens its records in an edit dialog, and only one person can have a record open for editing at a time. If a teammate already has it open, you see who is editing instead of the dialog, and Owners and Admins can take over. See Settings → Edit locks for how a lock is held and released.
Items
An item is a saved product or service you sell or buy. Each item has a Type — Service, Non-inventory, Other charge, Inventory, or Bundle — plus a name, description, optional category, a default price, a default income (sales) account, an optional purchase/expense account for when you buy it, and up to two default tax codes. Picking an item on a bill line fills in all of those. On an invoice line the item always sets the account, but it only fills the description when the line’s description is blank, and only fills the price and both default tax codes when the line has no price yet — so tagging a line you have already priced never rewrites what you typed.
To add an item:
- Open Settings → Lists → Items, then select New item.
- Choose a Type: Service, Non-inventory, or Other charge (a fee or surcharge such as shipping) for things you do not stock, Inventory to track quantity on hand, or Bundle to group several items that expand into separate lines on a sale.
- Enter a Name and, if you use them, a SKU, Description, and Category.
- Set a Default price and the Income / sales account the sale should post to. If you also buy the item, set a Purchase / expense account under Purchase information — leave it as “Same as income account” and bills, purchase orders, and vendor credits fall back to the income account.
- Under Default tax, pick up to two tax codes (for example GST and PST) so the right taxes apply whenever you add the item to a line — each is applied separately.
- Select Save.
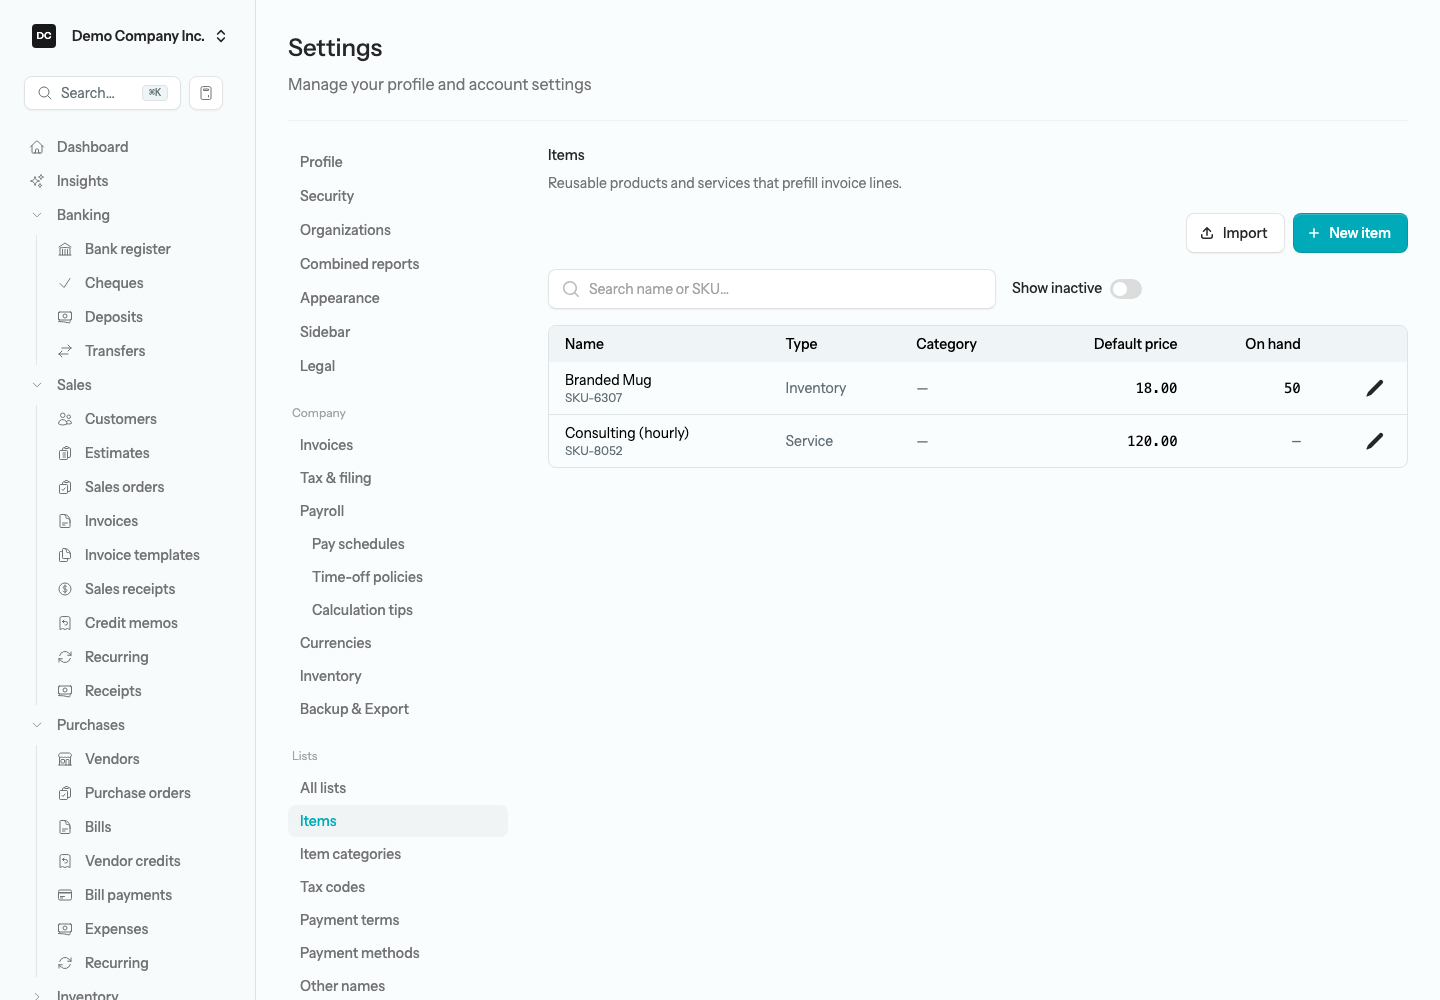
Tip — Import items from a spreadsheet. Already have a product list? Select Import (top-right of the Items list) to bulk-add from a CSV. Download the template to see the columns — sku, name, description, type, item_category, is_inventory, income/expense/inventory/COGS accounts by code, default price, default tax code, and reorder point — then upload your file to preview it before committing. Rows whose SKU matches an existing item are skipped, and any item category named in the file is created automatically if it does not exist yet.
Inventory tracking
Set an item’s Type to Inventory and the app maintains a live quantity on hand and the value of that stock. An inventory item needs two accounts: an Inventory asset account (where the value of unsold stock sits on the balance sheet) and a COGS account (where that value moves when you sell). Both are required for an Inventory item; the form pre-fills them from the organization’s defaults under Settings → Inventory, so you normally just confirm them. Set a Reorder point to have the Items list flag the item when it runs low.
When you first create an inventory item you can record an opening balance — the Opening quantity and Opening unit cost already on your shelves. That posts a one-time entry, debiting the inventory asset account and crediting Opening Balance Equity, so you seed the stock without running it through a bill. From then on, purchasing the item on a bill increases stock at the cost you paid, and selling it on an invoice decreases stock and books the cost to COGS automatically. See Inventory for adjustments, valuation, and the day-to-day flow.
Note — Pick a costing method before you trade. The organization chooses one Costing method — Weighted Average or FIFO — under Settings → Inventory, and it applies to every inventory item. It locks as soon as any stock movement exists anywhere in the organization: the setting is greyed out with “Cannot change costing method after inventory movements exist.” So decide before you record the first opening balance, purchase, or sale of an inventory item.
Tip — Inactive items do not disappear retroactively. Every list here has an Active switch. Mark an item, tax code, payment term, or payment method as inactive and it stops showing up in new pickers — but every invoice, bill, or journal entry that already used it keeps displaying it as before. Hiding a stale choice from the dropdown will never silently rewrite history.
Note — Bundles group items together. A Bundle item is a saved group of other items — say a service plus the parts it uses. Under Bundle components, select Add component and pick each item and its Qty. Choosing the bundle on an invoice expands it into one line per component, so each part still books to its own account and adjusts its own stock.
Item categories
Item categories group your products and services so they are faster to pick on sales forms and easier to slice in reporting. A category is just a name, and categories can nest: set a Parent category to build a simple hierarchy — for example Merchandise as the parent of Caskets and Urns. QuickBooks calls these Categories. Assign a category to an item from the Item form.
To add an item category:
- Open Settings → Lists → Item categories, then select New category.
- Enter a Name.
- Optionally pick a Parent category (optional) to nest it under another.
- Select Save.
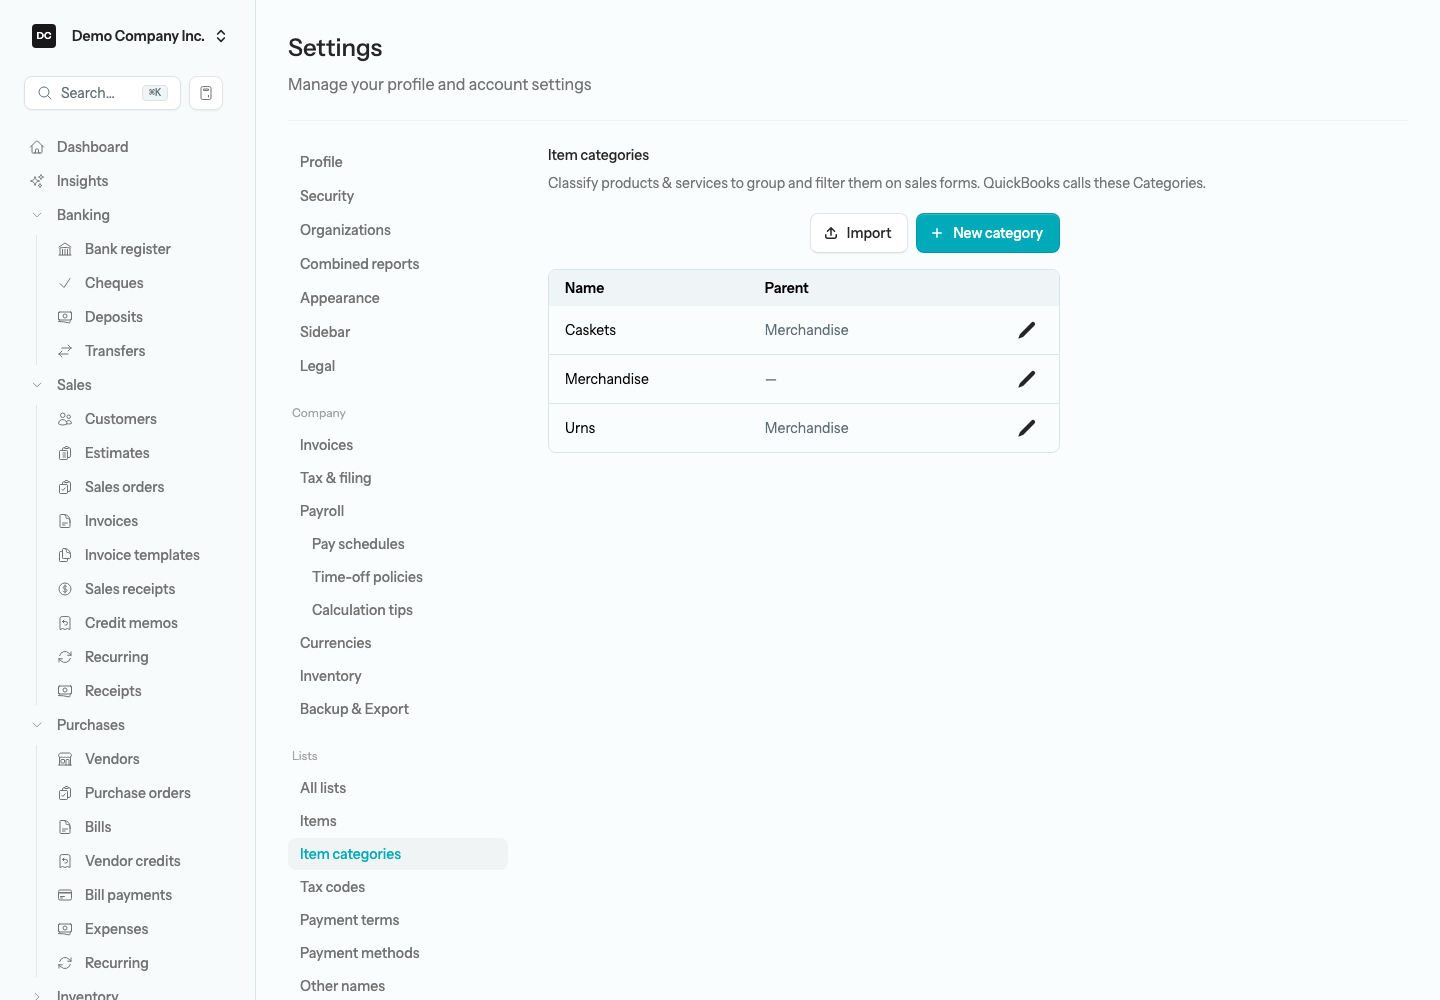
Tip. Categories import from a CSV too — select Import on the Item categories list and download its template (columns: name, parent_name, is_active). Names that already exist are skipped; to nest a category, list the parent before its children.
Tax codes
Tax codes describe how much tax to apply to a line and which agency the tax is owed to. Define one code per rate you have to collect or pay — for example GST 5%, HST Ontario 13%, or Exempt 0%. Posting tax to its own liability account is what makes the Sales Tax report and tax returns work. A code can be tied to a tax agency, which carries the registration number and the payable account the tax collects into; a Canadian organization starts with the Canada Revenue Agency and the standard GST, HST, zero-rated, and exempt codes already set up.
To add a tax code:
- Open Settings → Lists → Tax codes, then select New code.
- Enter a short Code (such as GST), the Rate (%) as a percentage, and a descriptive Name.
- Choose the Agency the tax is remitted to, or leave it as “— None —”. To add one on the spot, select New authority under the picker.
- Set Applies to — Sales & purchases (the default), Sales only, or Purchases only. Recoverable (input tax credit) is on by default: leave it on for a tax you can claim back from the government, and switch it off for one you cannot.
- Select Save.
To add a tax agency:
- On the Tax codes page, select New agency in the Tax agencies section (or New authority inside a tax code).
- Under Tax authority, pick a known authority for your jurisdiction — the list hides any you have already set up — and the Name fills in for you; choose “Custom authority…” to type your own.
- Enter the Registration number (it prints on your invoices) and choose a Payable account. Leave it on “Create a new account automatically” and a Tax Payable account is created to hold tax collected for this authority.
- Select Save.
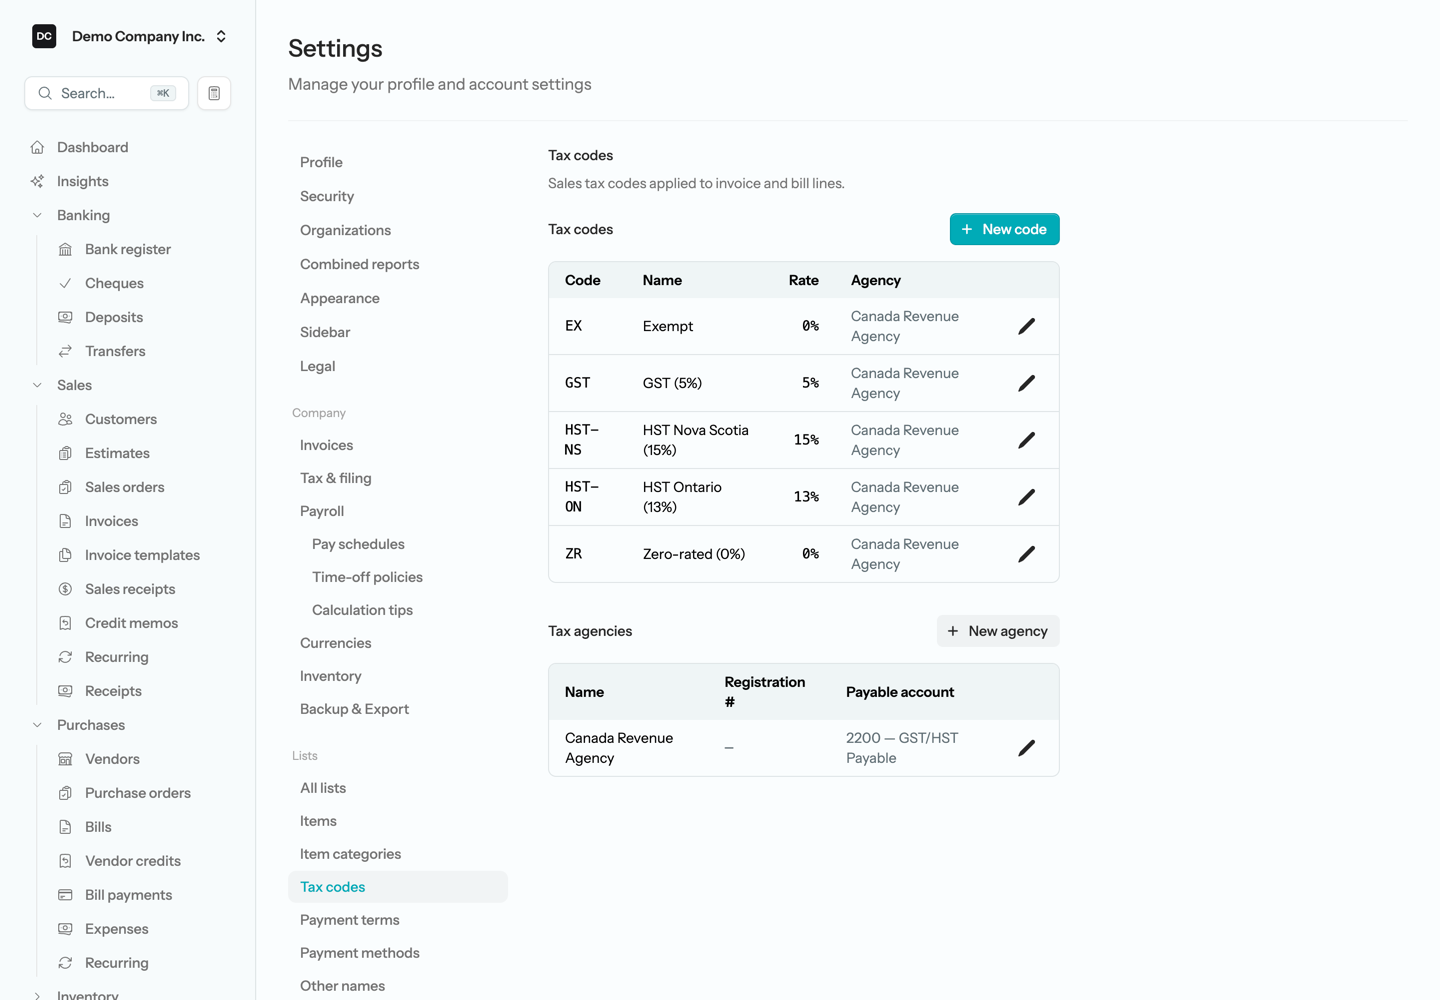
Tip — The id the API wants. Open an existing tax code, agency, payment term, or payment method for editing and the dialog shows its API id, labelled “Payment Method ID (API)” on a payment method. That is the number the REST API takes as tax_code_id, agency_id, terms_id, or payment_method_id. A tax code’s id is also what the AI assistant’s proposed invoices and bills take as tax_code_id on a line. Codes and names can be renamed; the id never changes. See API.
Payment terms
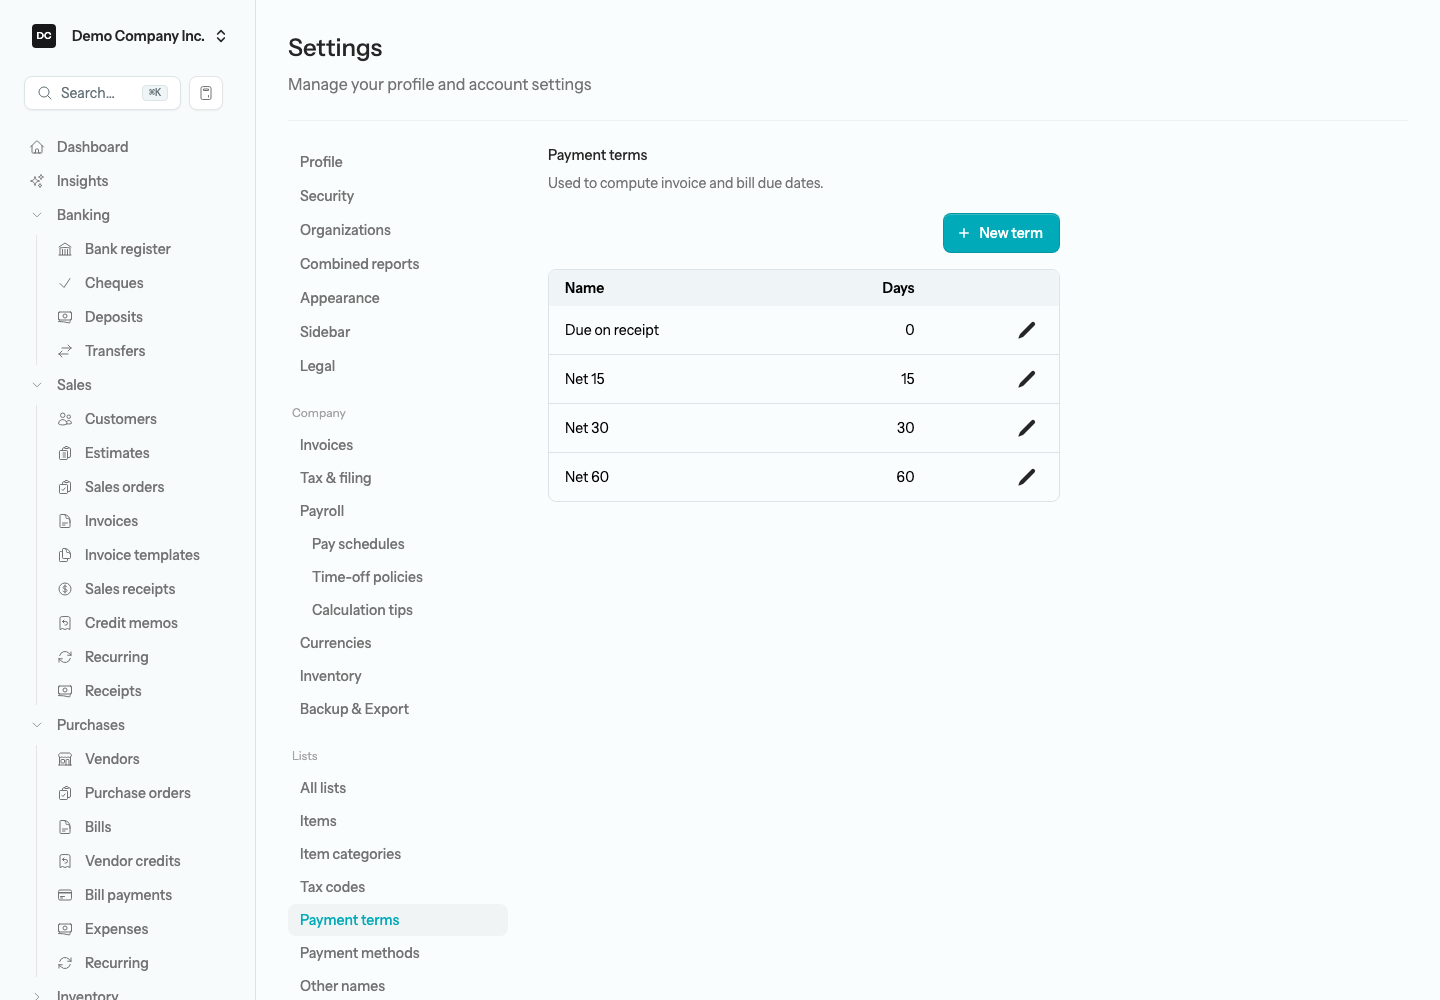
Payment terms define when an invoice or bill is due — Due on receipt, Net 15, Net 30, Net 60, and so on. Assign default terms to customers and vendors so new transactions inherit them and aging reports work without manual intervention.
To add a payment term:
- Open Settings → Lists → Payment terms, then select New term.
- Enter a Name (such as Net 30) and the number of Days until the document is due (0 to 365).
- Select Save.
Payment methods
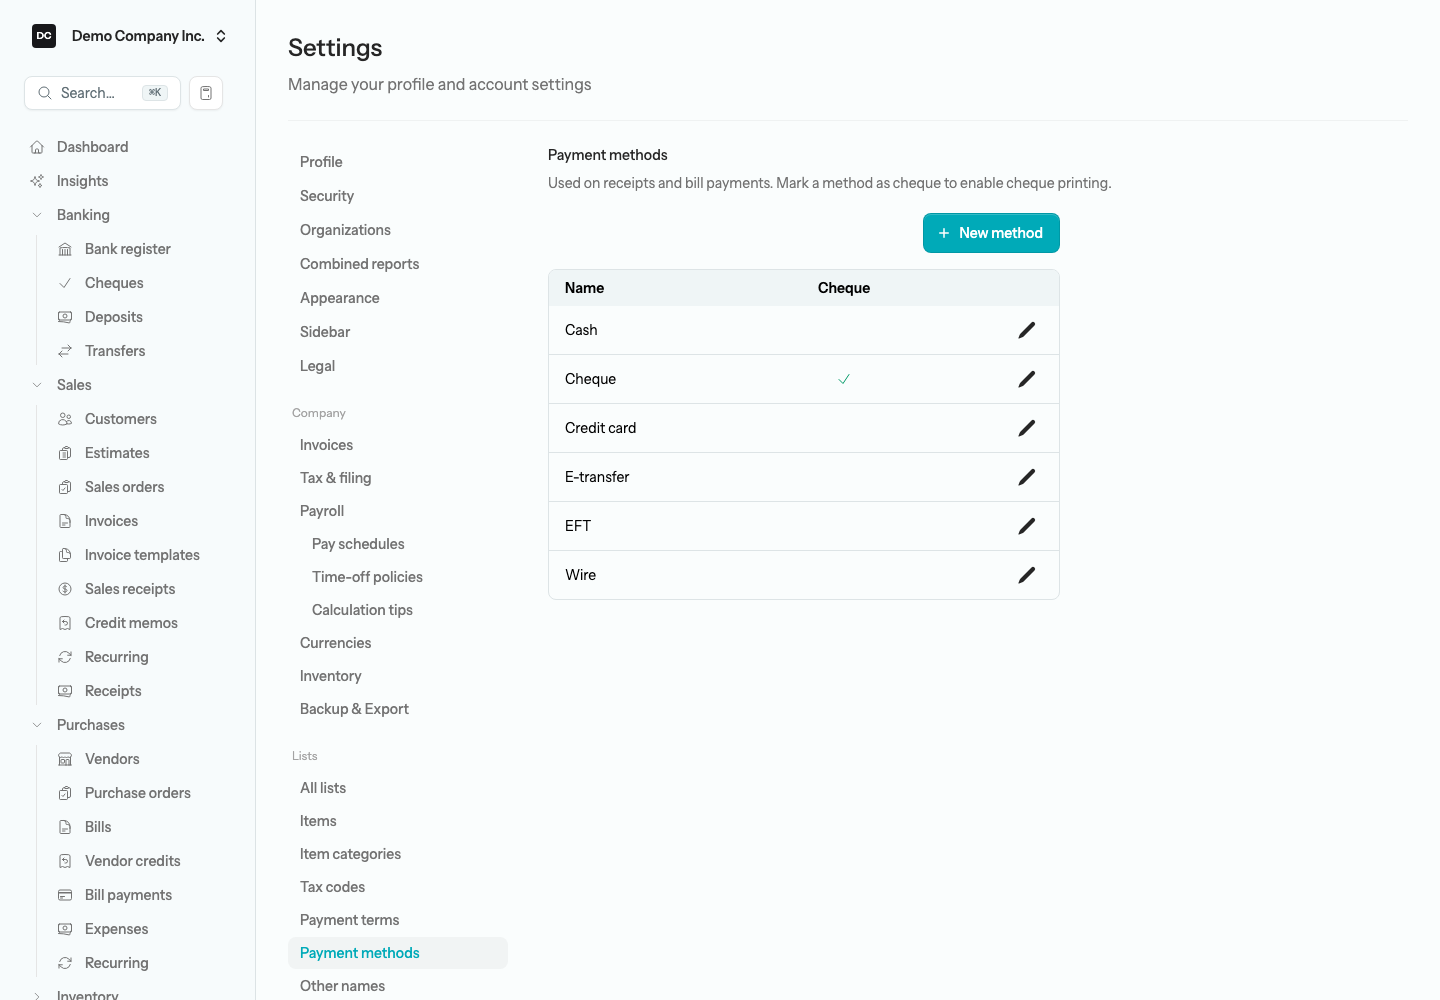
Payment methods describe how money moved: cash, cheque, EFT, credit card, e-transfer, wire. You pick one on customer receipts, sales receipts, bill payments, expenses, and tax return payments, and each customer can carry a Preferred payment method that pre-fills on their customer receipts and sales receipts. A method can also carry behaviour — marking a method as a cheque method unlocks the Print cheque action on bill payments that use it. A receipt’s method later shows up as the Payment type column when you pick receipts on a deposit, so tidy names pay off.
To add a payment method:
- Open Settings → Lists → Payment methods, then select New method.
- Enter a Name.
- Turn on Cheque method if this method should enable cheque printing. (In a US organization the label reads Check throughout.)
- Select Save.
Other names
An other name is a one-time payee — a raffle winner, a walk-in refund, “Cash” — that is not a vendor, customer, or employee and does not need a full record. Cheques and expenses written to an other name stay linked to it, so you can see everything paid to that name without inventing a fake vendor. QuickBooks calls these Other Names. The fastest way to add one is straight from the Pay to the order of field on a cheque (or Paid to on an expense): type the name and choose + Add “…” as Other name. A box opens with the name filled in: check it, then select the check-mark button or press Enter to create the other name and pick it as the payee (the ✕ button backs out without creating anything). If an active contact of any kind already has the same name (ignoring capitals), it is picked instead, so you never get a duplicate. Every name added that way lands on this list.
To add an other name:
- Open Settings → Lists → Other names, then select New other name.
- Enter the Name as it should print on cheques. If another contact of any kind already uses that name, the dialog warns you (“Another contact already uses this name.”) — it is a heads-up, not a block.
- Optionally add Notes for your own reference; they are internal only and never printed.
- Select Save.
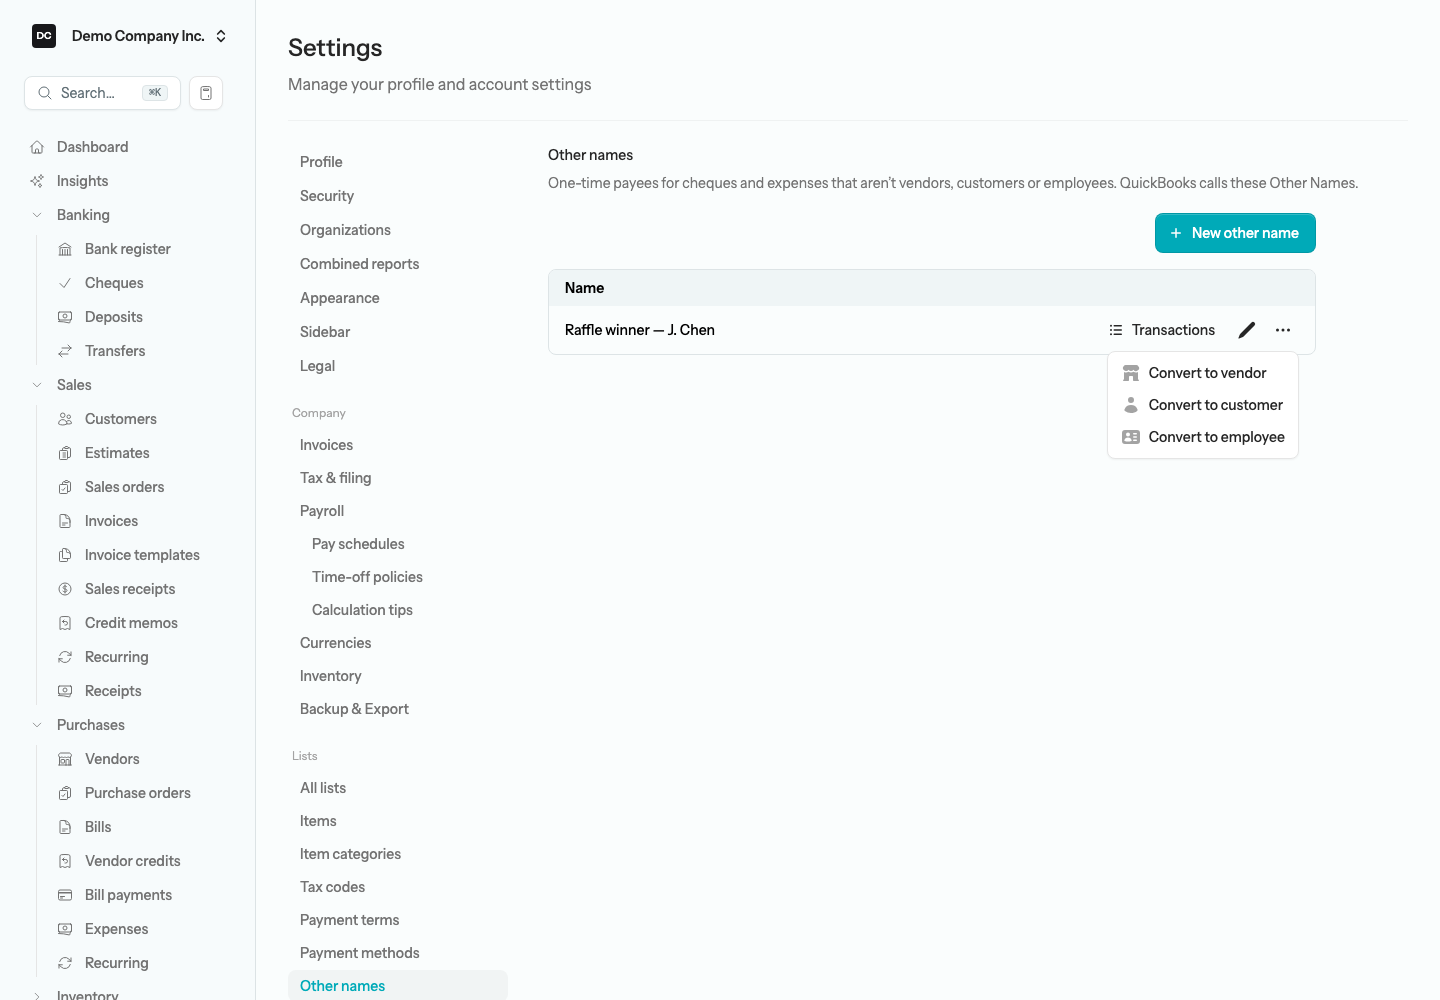
Note — Transactions and one-way Convert. Select Transactions on any row to open the Transactions report filtered to that name across all dates. If a one-time payee turns into a regular supplier, use the row menu to Convert to vendor, Convert to customer, or Convert to employee. It keeps the same record, so every cheque and expense already written to it stays linked — but the change cannot be undone, and the name moves from this list to that page. You only see the Transactions button and the Convert options for pages your role can open. Switch off Active to hide a name from the payee picker; it shows an Inactive badge here and its history stays put.
Classes and locations
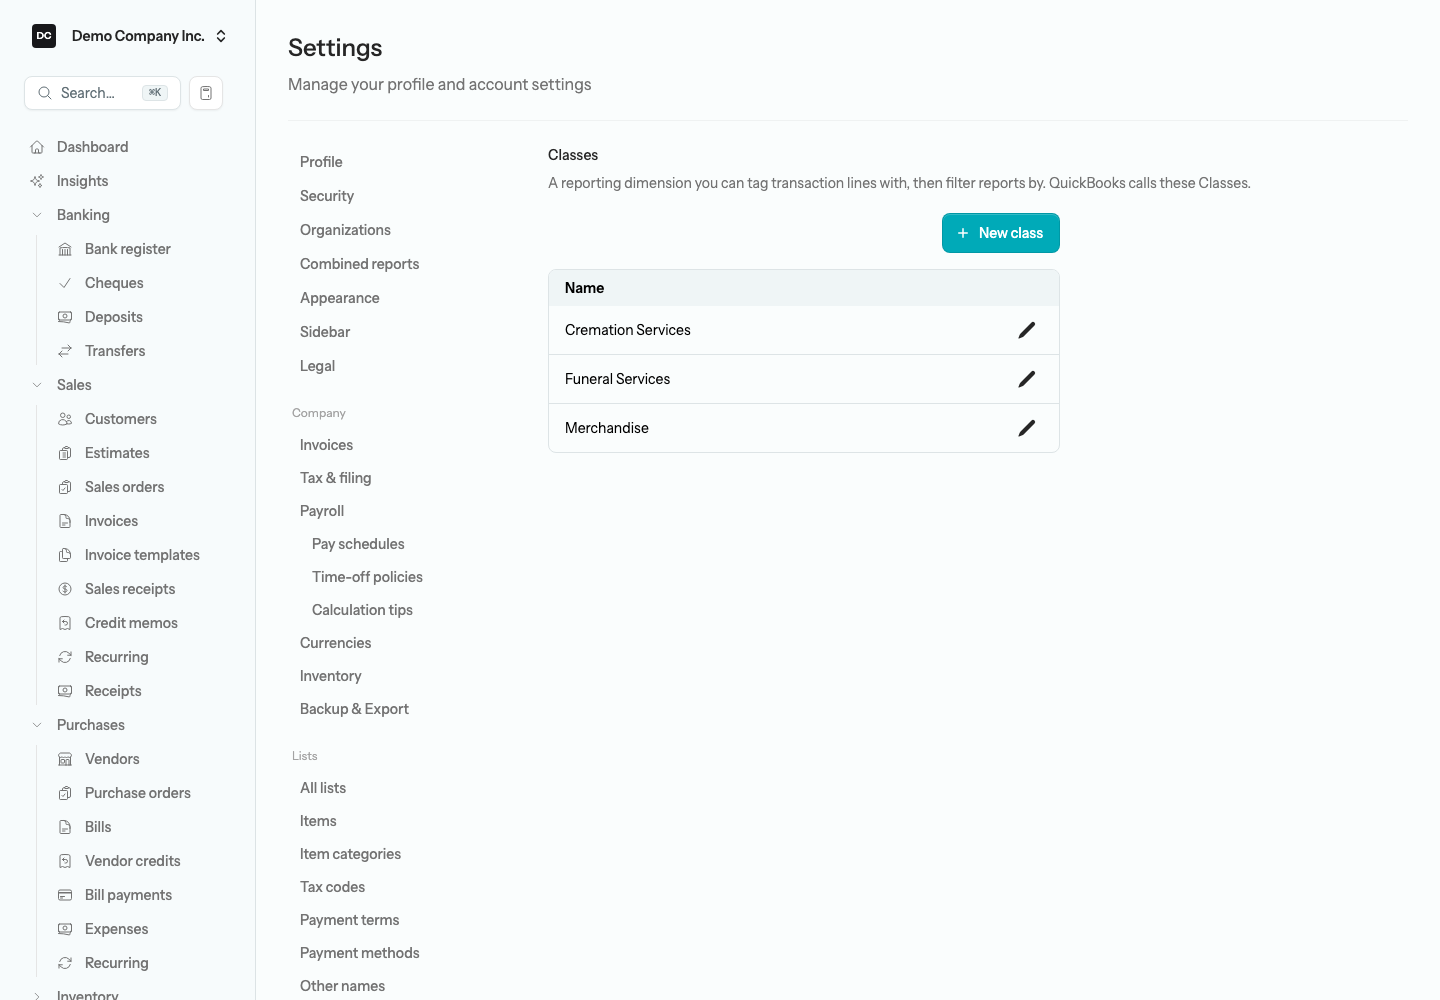
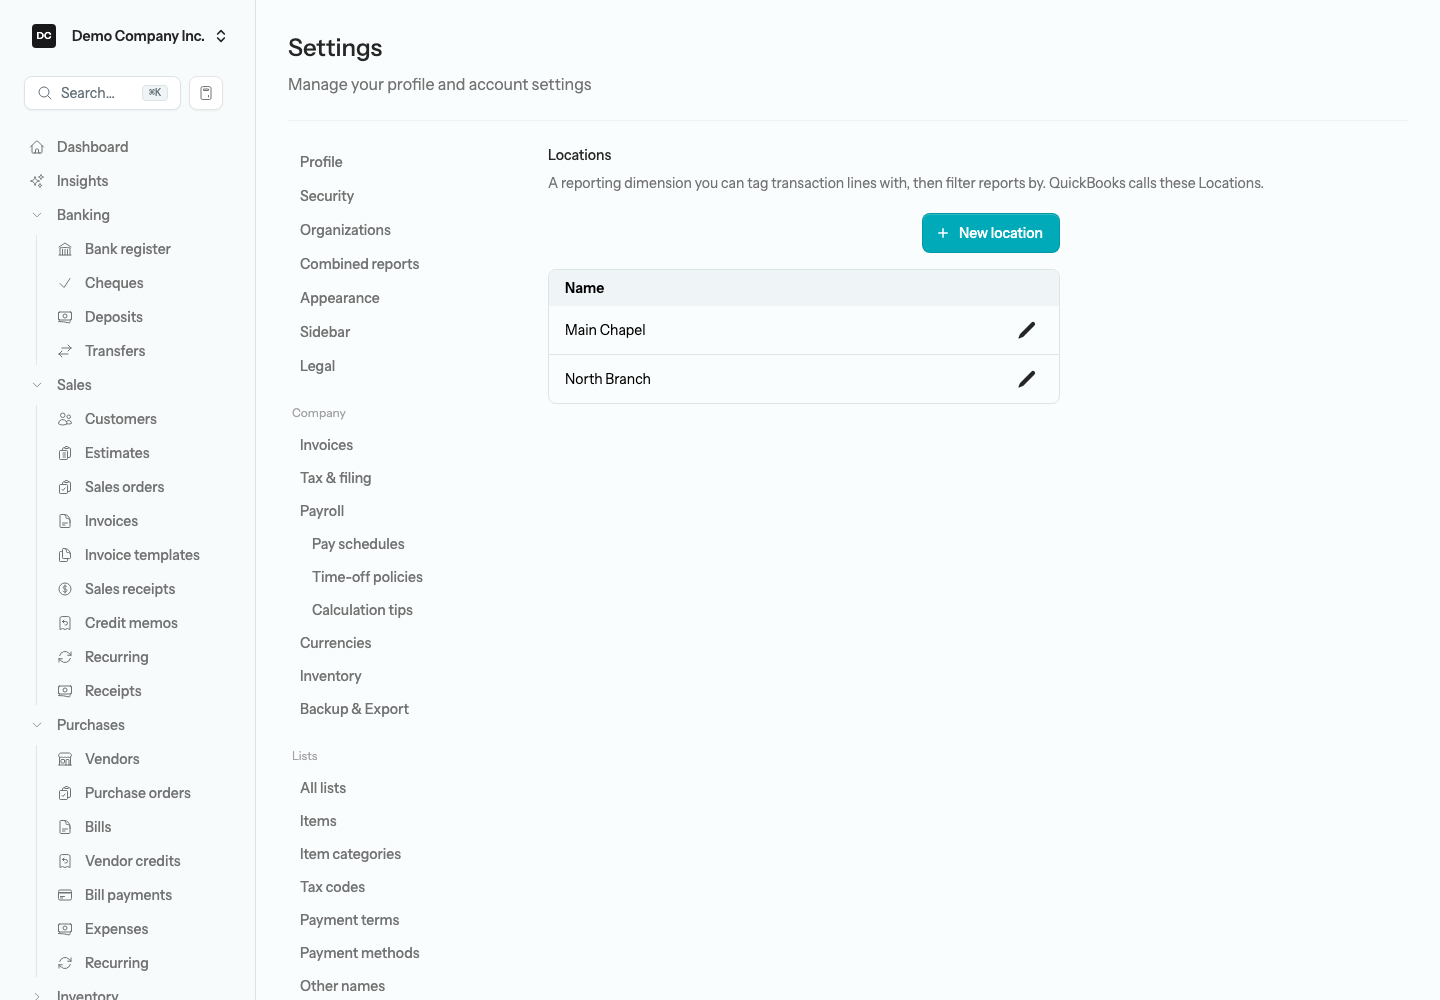
Classes and locations are optional tracking dimensions — extra labels you can attach to transaction lines to slice your reporting beyond the chart of accounts. A class might be a department, program, or product line; a location might be a store, region, or property. In Demo Company Inc. the classes are Funeral Services, Cremation Services, and Merchandise, and the locations are Main Chapel and North Branch. Each is its own list you maintain here.
Both are off by default. Switch on the Classes switch, the Locations switch, or both on the organization’s edit page under Settings → Organizations. Once on, a Class and Location selector appears on the lines of invoices, credit memos, estimates, sales orders, bills, vendor credits, purchase orders, cheques, expenses, deposits, journal entries, inventory adjustments, and the invoice, journal-entry, and recurring-journal templates — but not on customer receipts or sales receipts. Tags follow the line into the general ledger and let you filter the Income Statement, Statement of Operations, General Ledger, Transactions, Budget vs. Actual, and the sales and purchases reports by class or location, without changing any totals. The Balance Sheet has no class or location filter.
To add a class or location:
- Open Settings → Lists → Classes (or Settings → Lists → Locations).
- Select New class (or New location).
- Enter a Name and select Save.
Tip. Tagging lines with classes and locations never changes a single total — it only adds a way to filter and group your reports. If you are not sure you need them yet, leave them off; you can switch them on later and the dropdowns simply appear.
Funds
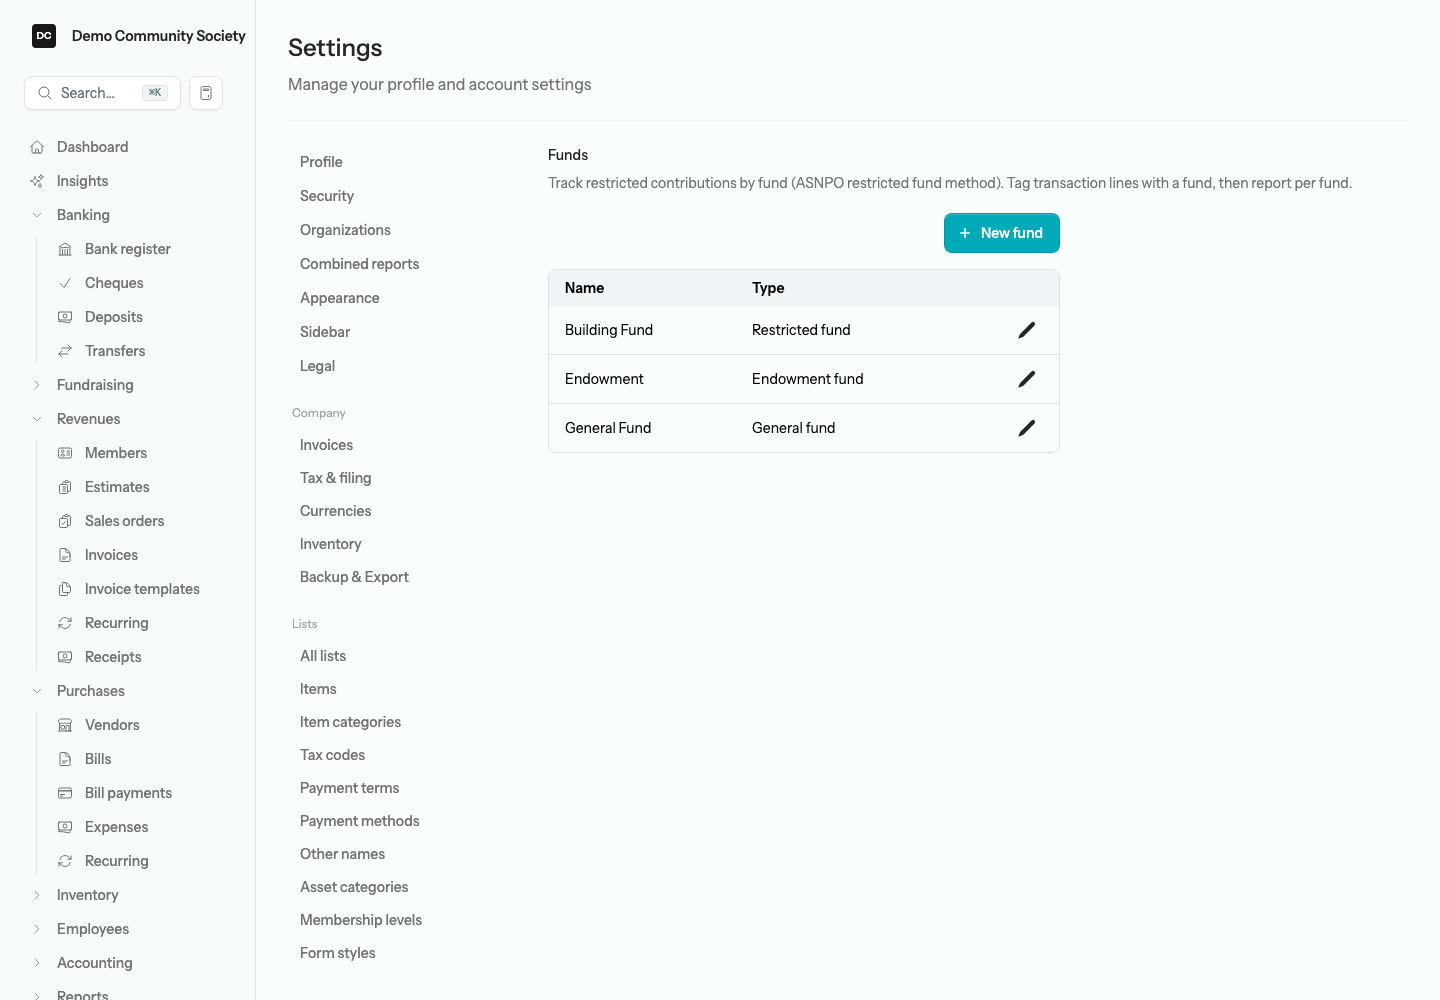
Funds power restricted-fund accounting for non-profits (the ASNPO restricted fund method). Each fund has a name and a Type — General fund, Restricted fund, or Endowment fund — that records its restriction class; a new fund starts as Restricted fund. The Type is a label on the Funds list and does not change any report. In particular, the Statement of Changes in Net Assets splits net assets into unrestricted, restricted, and endowment by the chart-of-accounts Type of the equity account each balance sits in (Unrestricted Net Assets, Restricted Net Assets, or Endowment Net Assets), not by fund. You tag donations, grants, and journal lines to a fund, and your reports roll up per fund so you can show donors exactly how their money was used. Demo Community Society has a General Fund, a restricted Building Fund, and an Endowment.
Funds need two things switched on for the organization under Settings → Organizations: the Contribution accounting method set to Restricted fund method, which reveals the Fund accounting switch, and that switch turned on. When you save the organization with Fund accounting on and it has no default fund yet, the app creates one named General Fund (type General fund). The default fund is marked “(default)” and listed first on the Funds list — and that is all being the default does. Reports never assign untagged activity to it: filtering a report by a fund counts only lines tagged with that exact fund, and Donations by Fund leaves untagged donations out. Tag every line and donation you want reported by fund.
To add a fund:
- Open the Funds list. It does not yet have an entry in the Settings sidebar or on All lists, so add /settings/lists/funds to your organization’s address — for Demo Community Society, /demo-society/settings/lists/funds — then select New fund.
- Enter a Name and choose a Type (General fund, Restricted fund, or Endowment fund).
- Leave Active on so the fund shows up in pickers.
- Select Save.
Note. Funds are how restricted contributions stay accountable. See Fundraising for how donations and grants are tagged to a fund and reported.
Membership levels
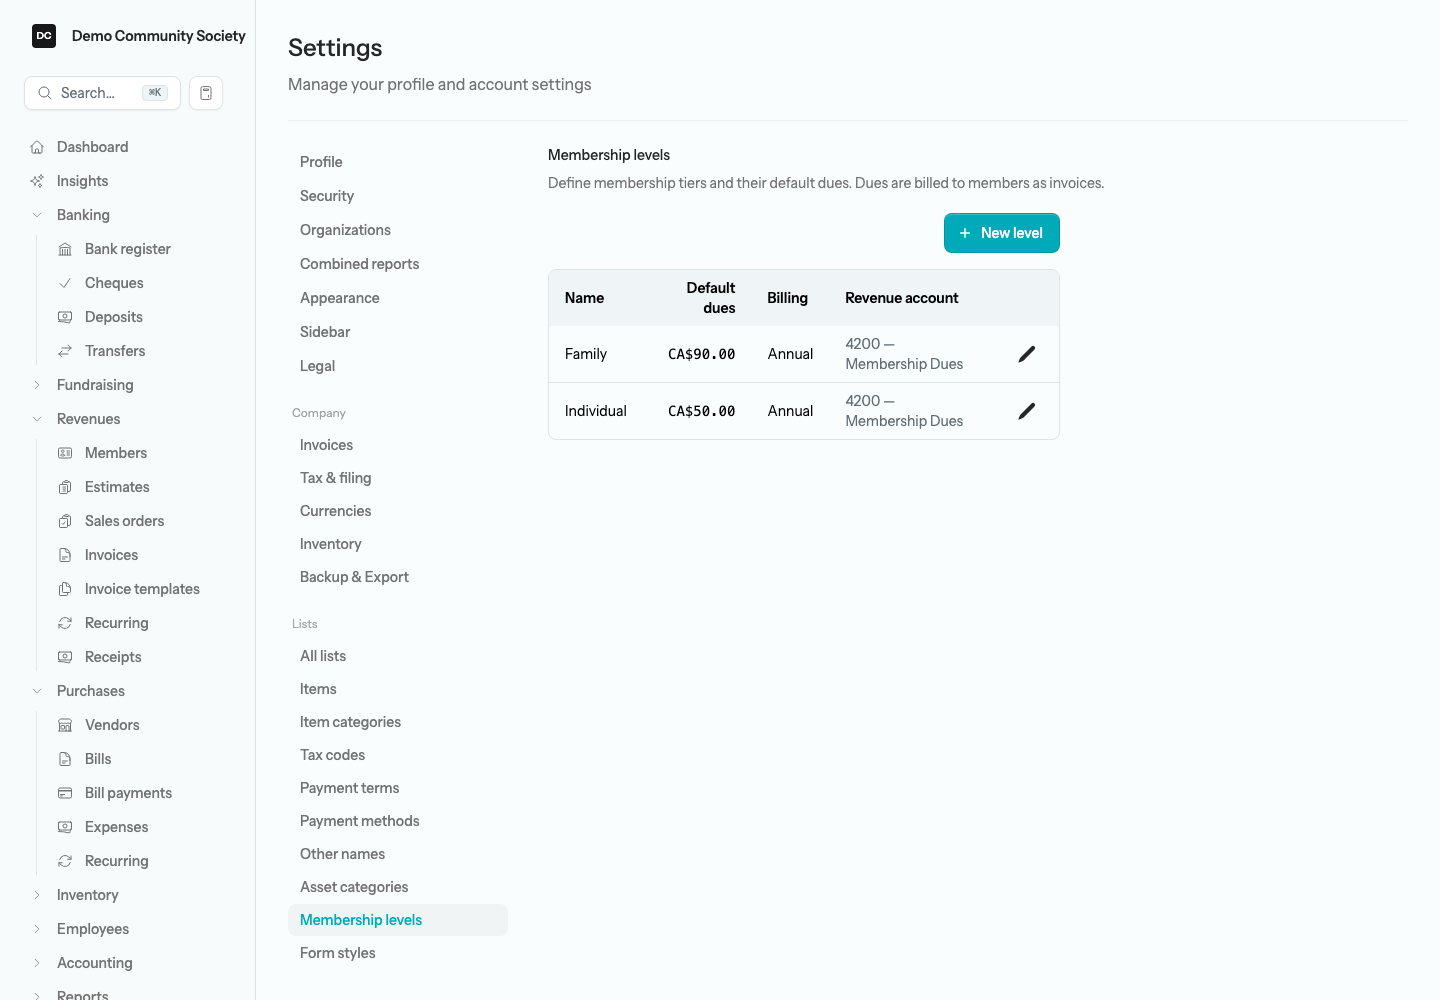
Membership levels define the dues tiers used by your membership roster. Each level carries a name, a default dues amount, a billing frequency, the revenue account dues post to, and optional default terms and a default tax code. When you add a member at a level, those defaults flow onto the dues invoices the app raises for them. Demo Community Society bills Individual members $50.00 and Family members $90.00, both annually. This list requires the Membership switch on the organization’s edit page.
To add a membership level:
- Open Settings → Lists → Membership levels, then select New level.
- Enter a Name and the Default dues amount.
- Choose a Billing frequency — Weekly, Monthly, Quarterly, Semi-annual, or Annual (the default) — and the Revenue account dues should post to.
- Optionally set Default terms and a Default tax code for the dues invoices.
- Select Save.
Note. Levels are the tiers you assign on the Members roster, where dues, renewals, and billing run from each member’s level.
Asset categories
Asset categories group your fixed assets and carry the default GL accounts — asset, accumulated depreciation, and depreciation expense — plus a Default useful life (months) that pre-fill whenever you add a new asset to the category. A Canadian organization can also set a CCA class — the Capital Cost Allowance class the assets fall into — which flows onto the T2125 / CCA depreciation schedule at tax time. Maintain them under Settings → Lists → Asset categories: select New category, enter a Name and optional Description, set the default accounts, useful life, and CCA class, then Save. This list requires the Fixed assets switch on the organization’s edit page; see Fixed assets for how assets and depreciation post.
Form styles
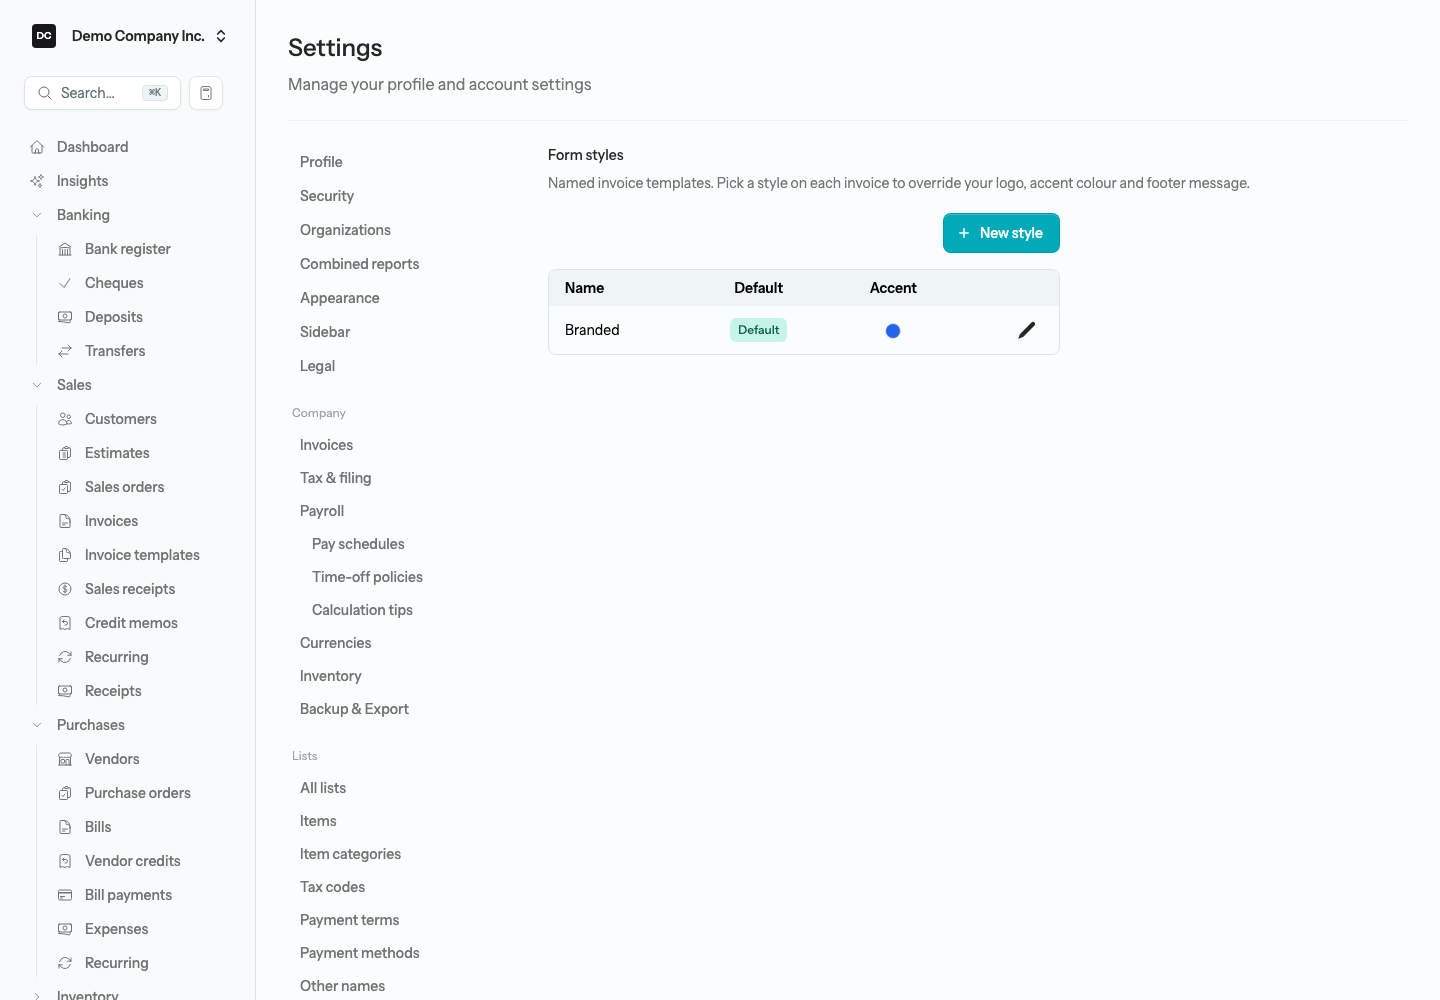
A form style is a named invoice template. Each style can override your logo, an accent colour, and the footer message, so you can keep, say, a branded style for customers and a plain one for internal copies. You pick a style on an individual invoice; invoices that do not pick one fall back to the default style, or to your plain invoice settings if you have not added any styles yet.
To add a form style:
- Open Settings → Lists → Form styles, then select New style.
- Enter a Name.
- Optionally set an Accent colour as a 6-digit hex value (such as #2563eb) to tint the invoice title, table headers, and total.
- Add a Footer message to override the footer from your invoice settings, and turn Show logo on or off.
- Turn on Default style to make this the style new invoices use when none is chosen.
- Select Save.
Tip. No form styles yet? Invoices print with your Settings → Invoices options — the document logo when Show document logo is on, and your Footer message — and no accent colour. Adding a style only matters when you want a coloured look or more than one look.
Reports tied to this area
- Sales Tax — tax collected, paid, and net owing per tax agency, the basis for your tax returns.
- Sales by Item and Purchases by Item — what you sold and bought, item by item.
- Inventory Stock Status and Inventory Valuation — quantity on hand, reorder flags, and the value of stock.
- Income Statement, Statement of Operations, General Ledger, Transactions, and Budget vs. Actual — each filterable by class and location.
- Dues Revenue by Level and Donations by Fund — membership and fund reporting for non-profits.
All of them live under Reports; see Reports.